
In this tutorial, Devin builds a small SwiftUI habit tracker from an empty repository. Devin writes the code, builds it with Xcode, runs it in the iOS Simulator, and opens a pull request. You watch it work, review the result, and then have Devin ship a beta build to TestFlight.
Devin building an iOS game on a macOS VM

Before you start

  • macOS VMs: Devin’s sessions need to run on macOS. If you’re on a Dedicated SaaS deployment, ask your account team to enable macOS VMs. See macOS support.
  • A repository: create an empty repository (for example, habit-tracker) and give Devin access to it through your Git integration.
  • Desktop mode: turn on Enable desktop mode in Settings > Customization so Devin can interact with the Simulator and record its testing. See Computer Use.
macOS sessions use the same amount of usage as Linux sessions. There is no macOS surcharge.

Step 1: Prompt Devin to build the app

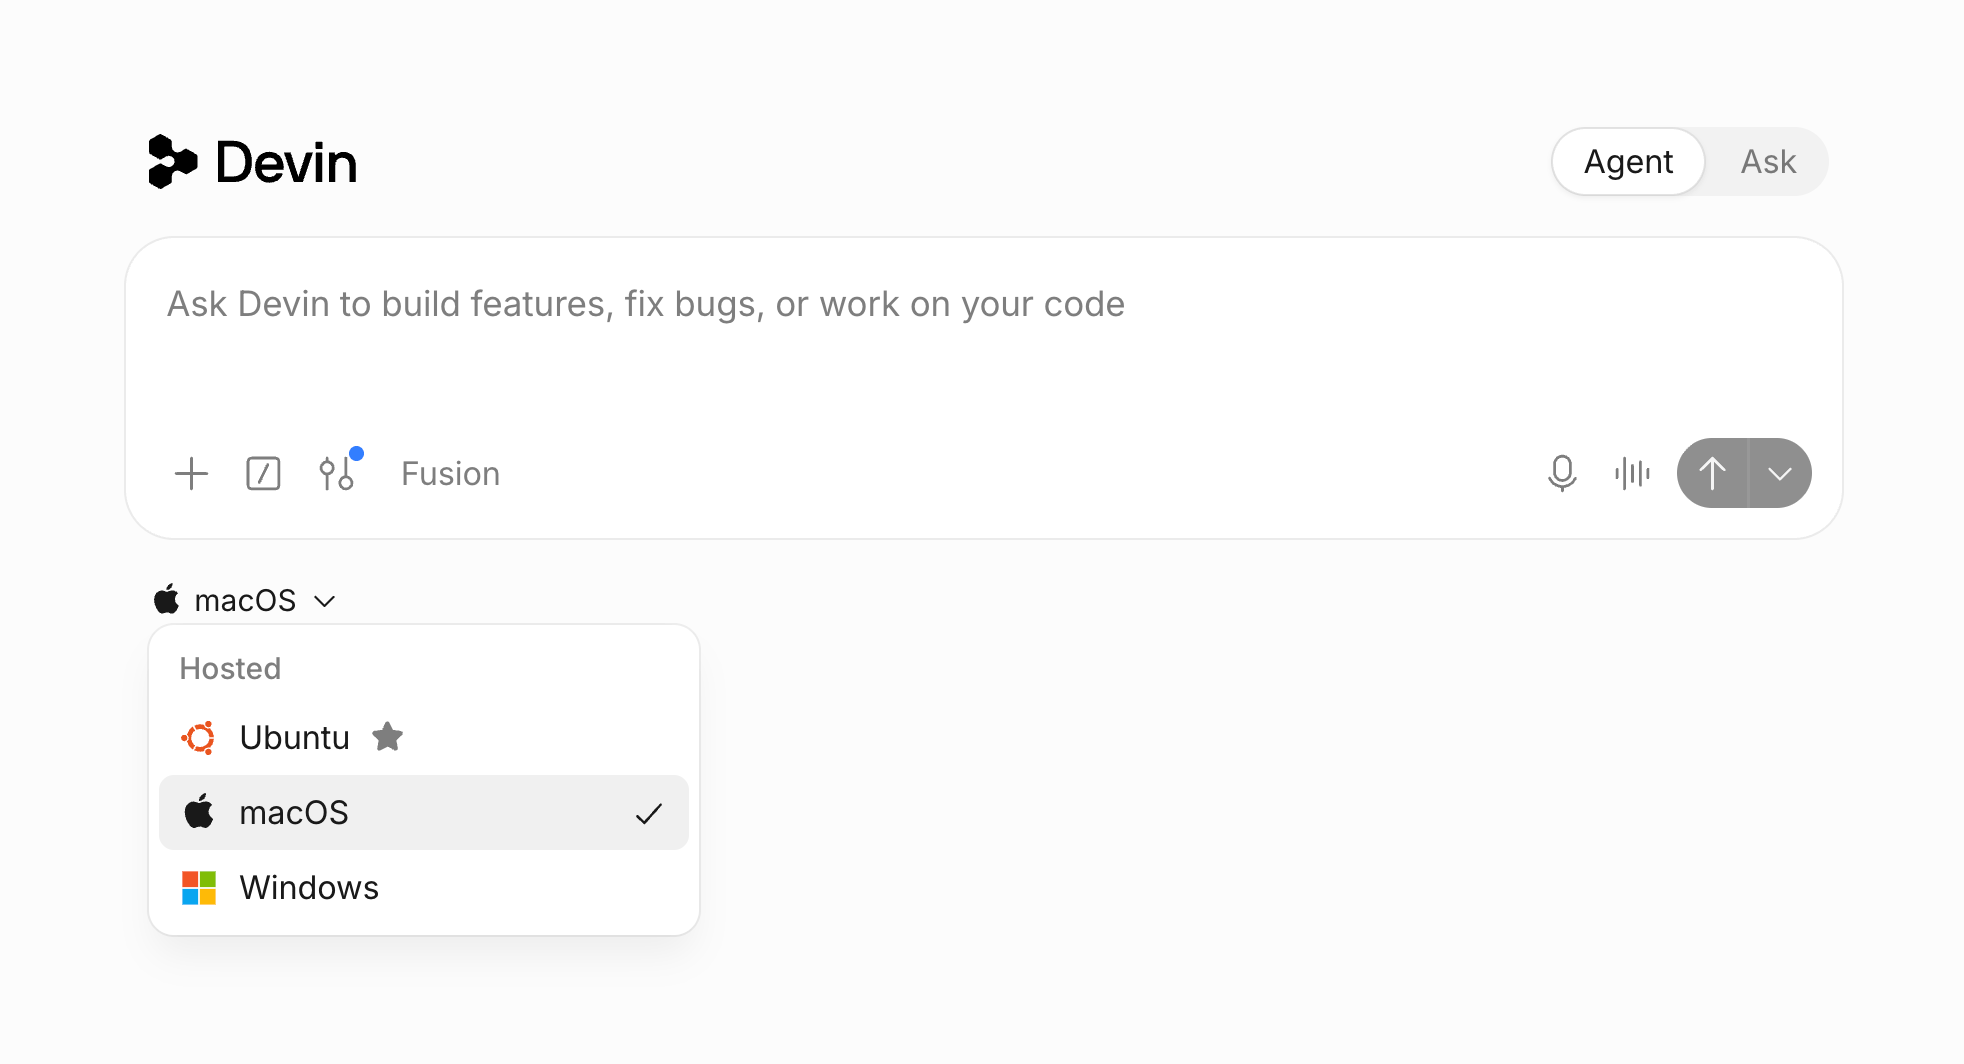
Start a new session on your chosen repository and choose macOS from the platform menu below the prompt box. Xcode, the iOS Simulator, and Homebrew are preinstalled, so there’s nothing to configure first.
In Slack, add the !mac bang command to your message. Through the API, set platform: "macos" when you create a session.
Give Devin a specific prompt that covers the app’s features, the tooling, and how to prove it works. Here’s an example:
A good iOS prompt:
  • Names the platform version and frameworks, so Devin doesn’t guess the deployment target or architecture.
  • Names the simulator device, so build commands use a destination that exists on the VM.
  • Describes a concrete verification flow, so Devin tests the behavior you care about instead of only checking that it compiles.

Step 2: Watch Devin build and test

Devin works through the task much like an iOS developer would:
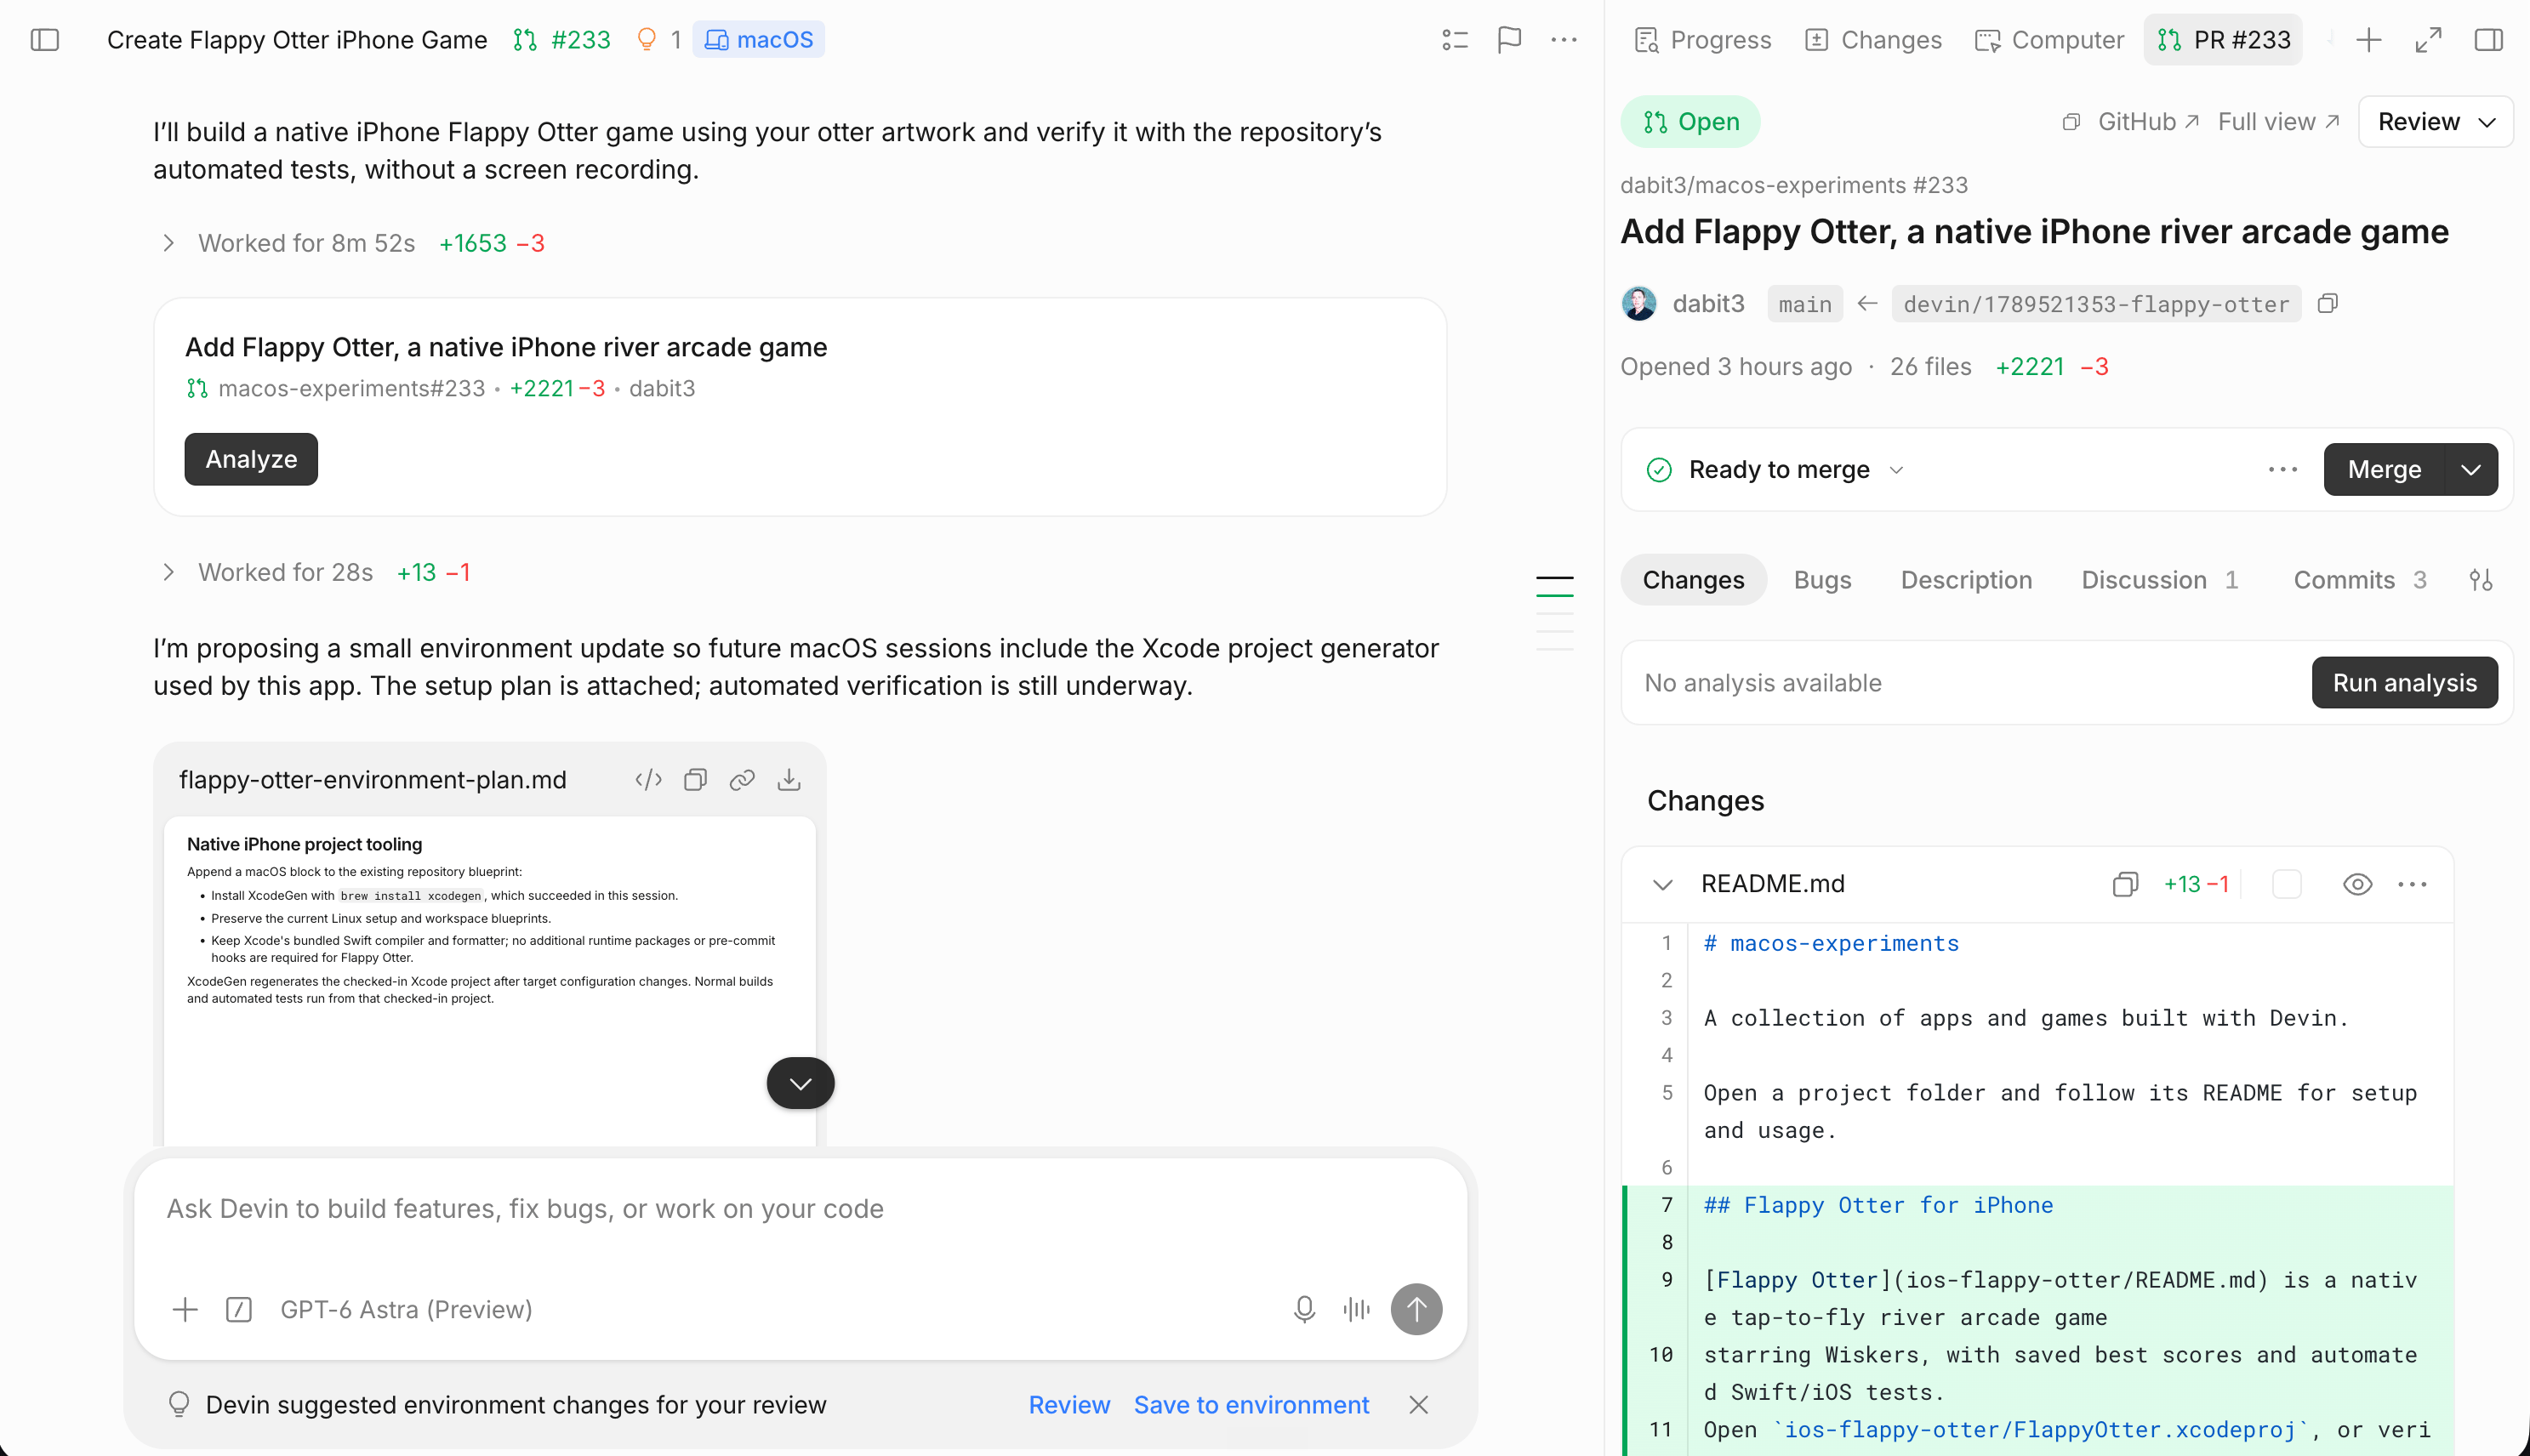
  1. Scaffolds the project: writes project.yml, the SwiftUI views, the habit model, and the test target, then runs xcodegen generate.
  2. Builds and fixes errors: runs xcodebuild from its shell, reads the compiler output, and fixes errors until the build and tests pass.
  3. Runs the app in the Simulator: boots the device and installs and launches the build:
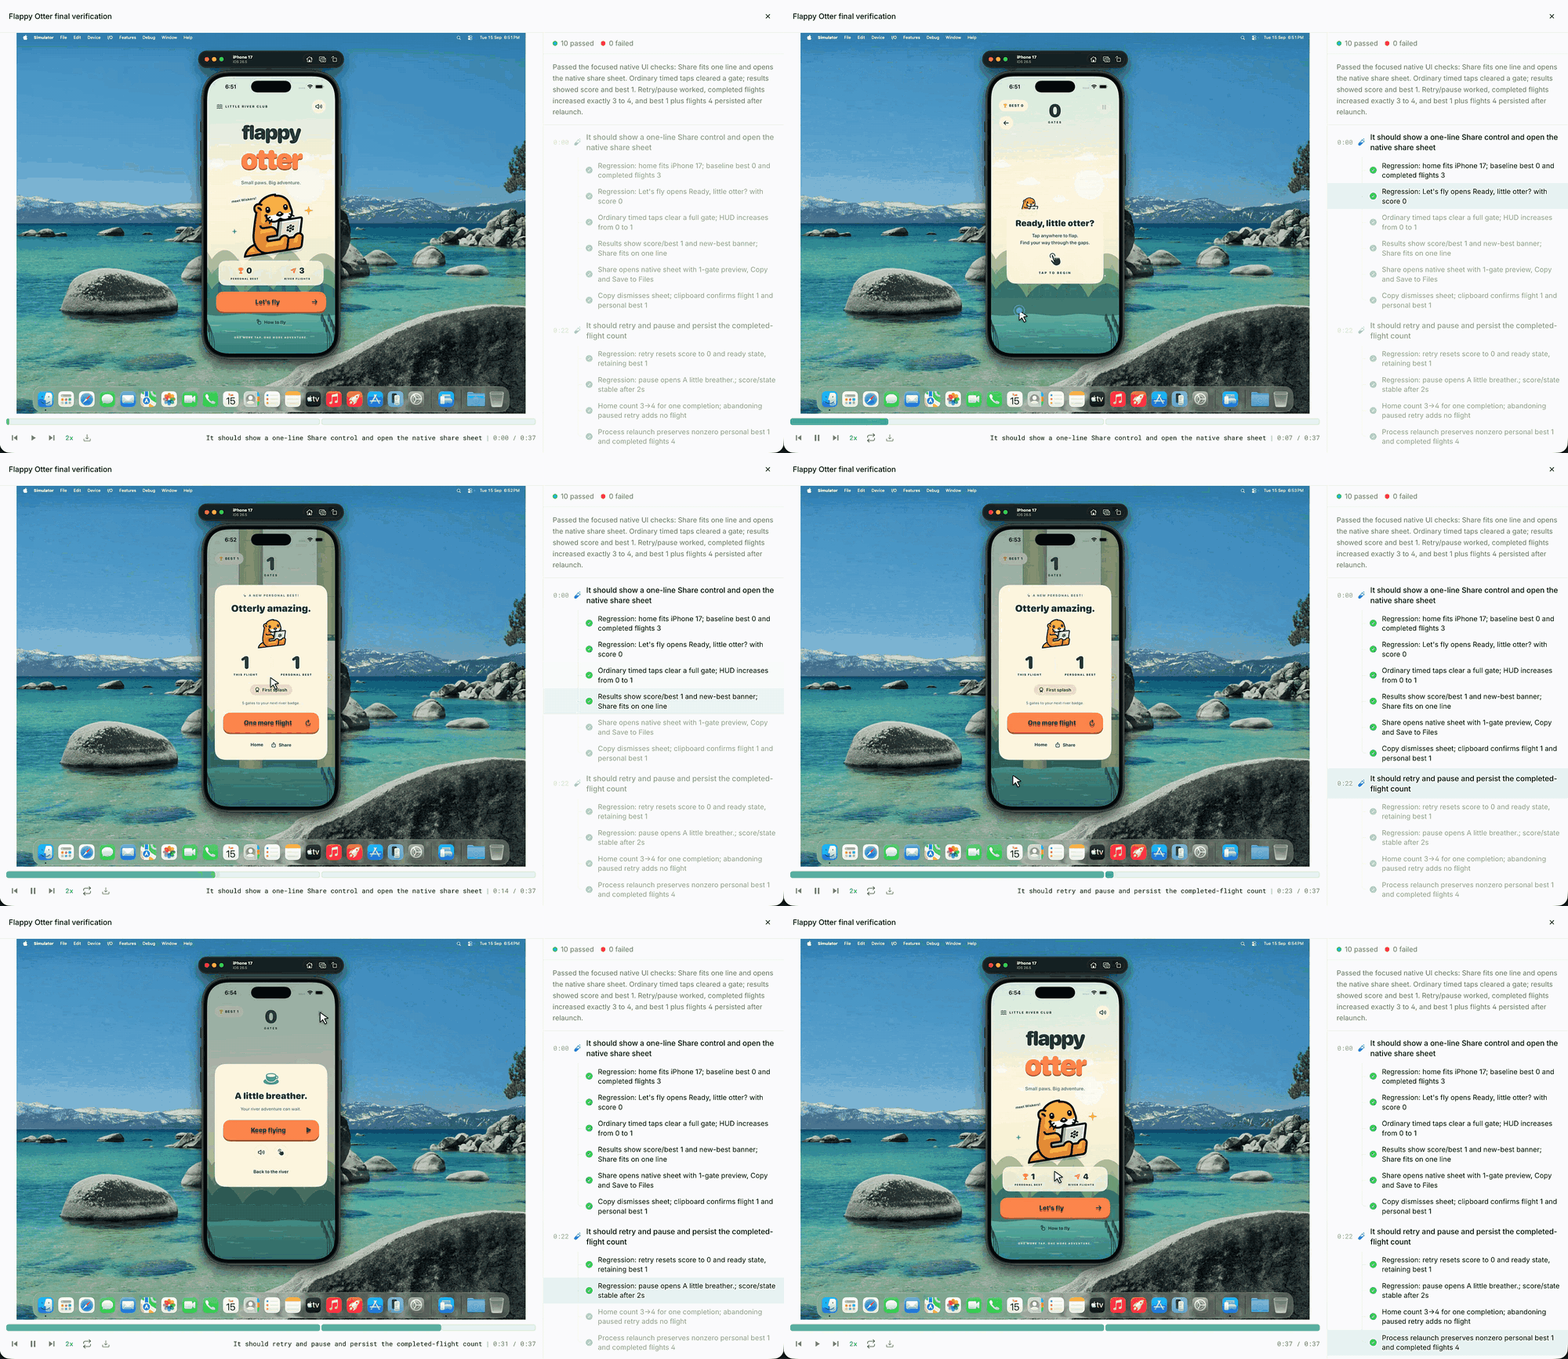
  4. Tests the flow you described: taps through the app with Computer Use, checks the result on screen, and records the run.
  5. Opens a pull request with the summary and screenshot.
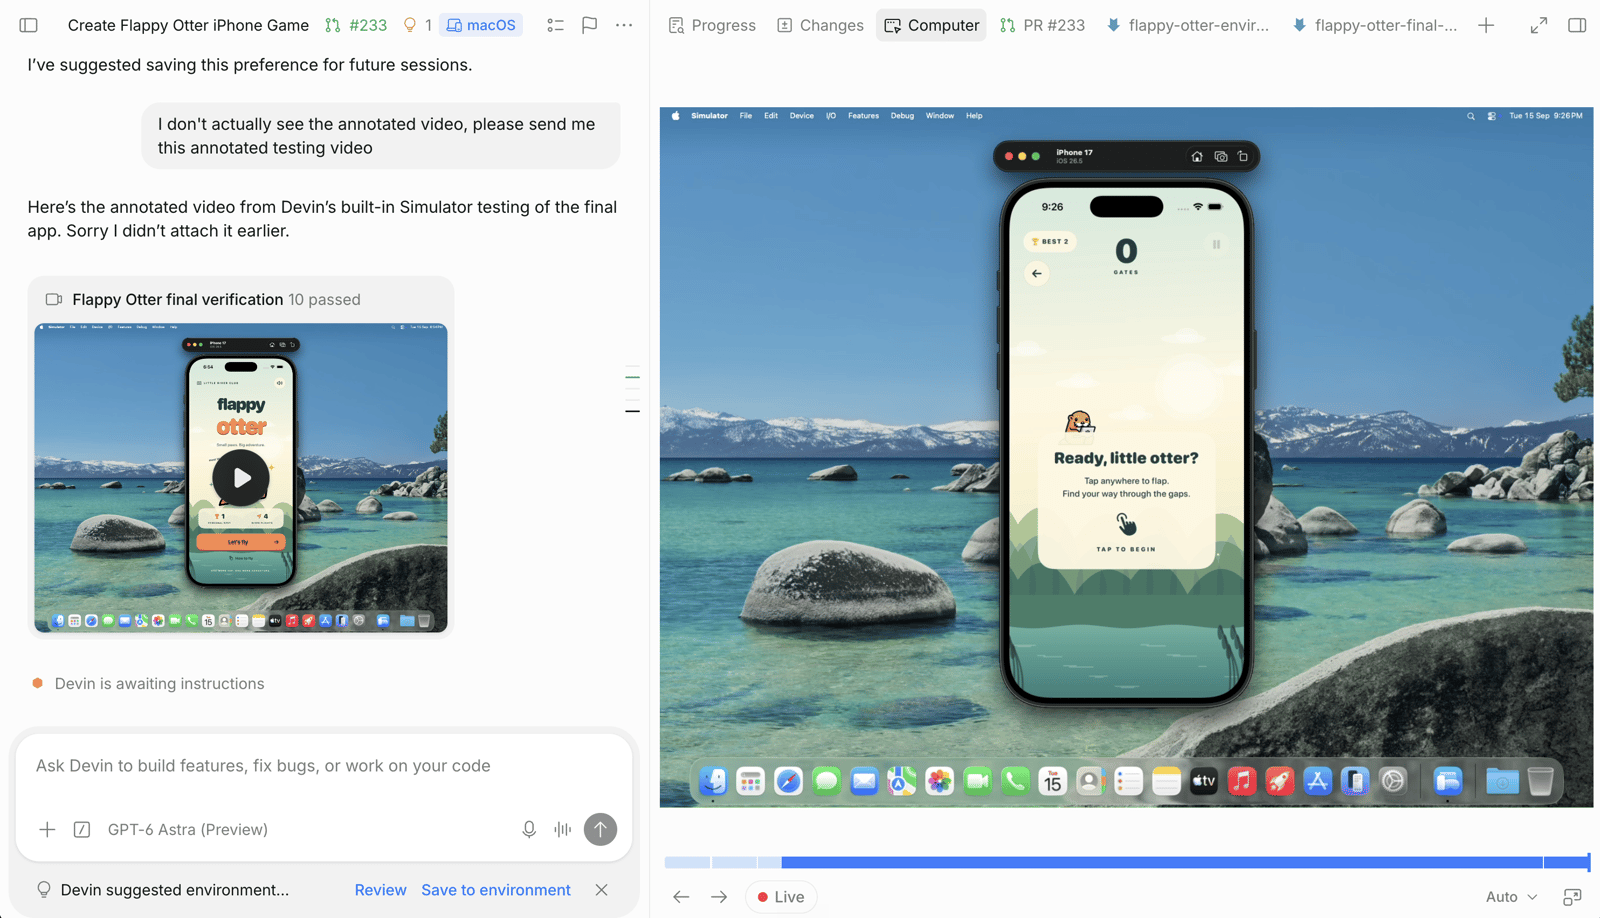
Open the iOS Simulator tab in the session workspace to watch the booted simulator live while Devin taps through the app.
If the build can’t find a destination, ask Devin to run xcrun simctl list devices available and use a device and OS that the VM actually has.

Step 3: Review and iterate

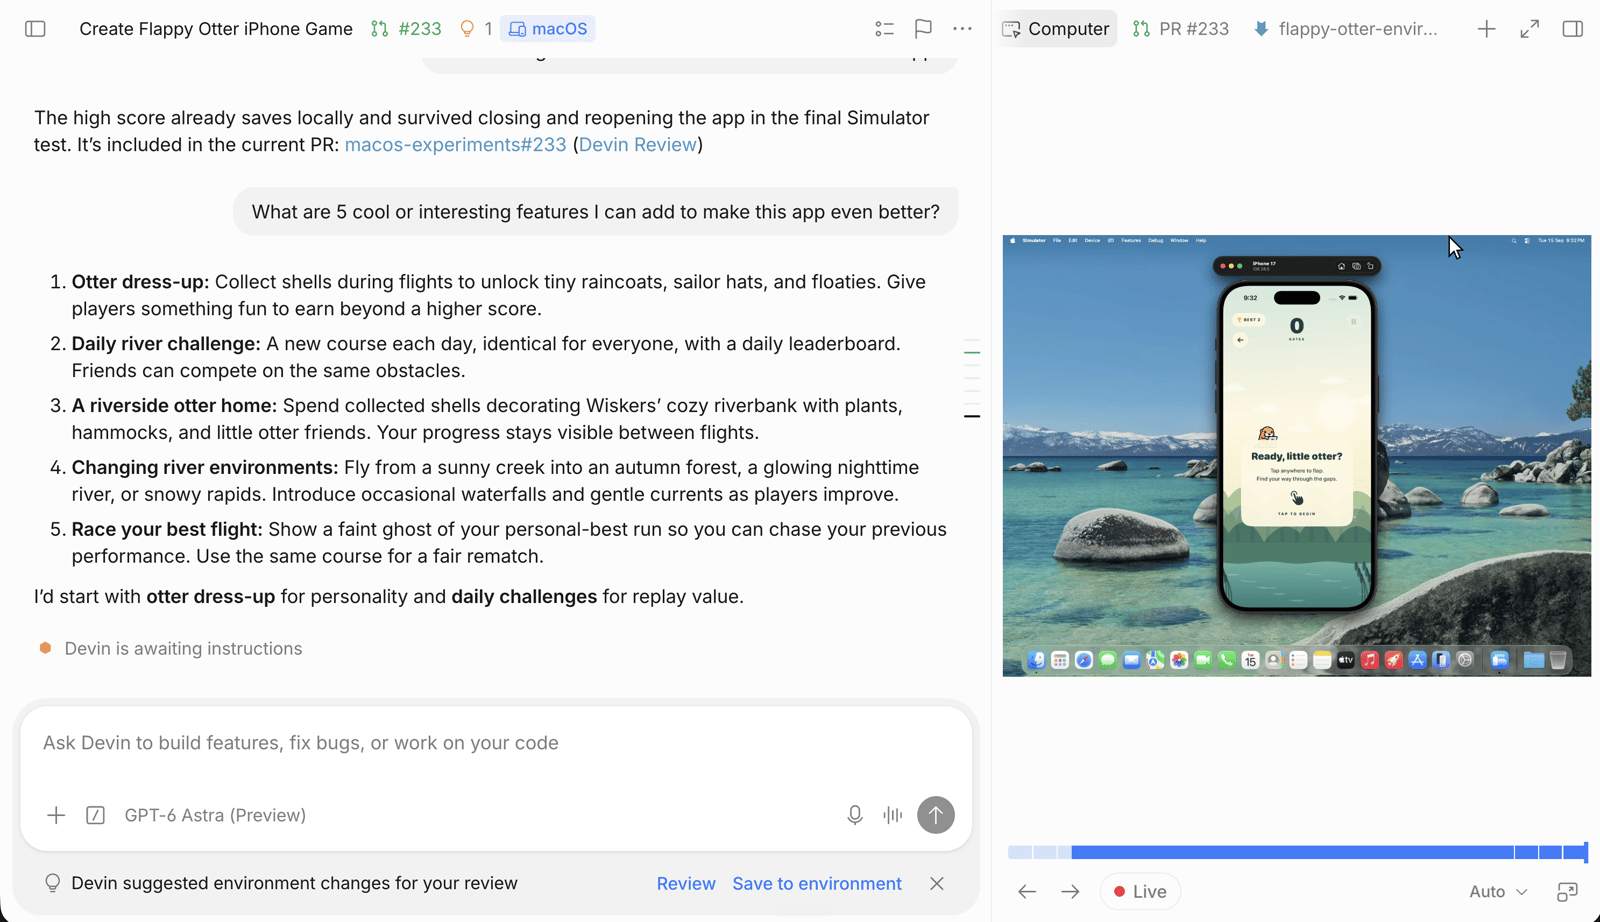
Review the pull request as you would any other. Check that the screenshot and recording match what you asked for. Then keep building in the same session with follow-up prompts:
You can also leave review comments on the pull request, and Devin responds to them while the session is active. See GitHub integration and Devin Review.

Step 4: Ship a beta to TestFlight

Once the app works in the Simulator, Devin can archive it, sign it, and upload the build to TestFlight so testers can install it on real devices. This needs some one-time setup that you do yourself. Upload iOS builds to TestFlight covers each step:
  1. Set up App Store Connect: accept agreements, register the bundle ID, create the app record, create a beta group, and answer export compliance.
  2. Create an App Store Connect API key and download its .p8 file.
  3. Add Devin secrets: ASC_KEY_ID, ASC_ISSUER_ID, ASC_PRIVATE_KEY, and APPLE_TEAM_ID.
  4. Allow network access to Apple’s servers if your organization uses a restricted network policy.
Use the same bundle ID in project.yml and in App Store Connect. If Devin picked a placeholder bundle ID in Step 1, ask it to update the project first.
Then start a new session so the secrets are available, and prompt Devin:
Devin writes the API key to disk, archives the app with xcodebuild archive, and uploads it with xcodebuild -exportArchive. It then adds the processed build to the beta group. To reuse these steps without repeating them in every prompt, add a testflight entry to the blueprint’s knowledge section. See Save the steps in your blueprint.

Tips

  • Pin the toolchain: macOS images include more than one Xcode version. Use DEVELOPER_DIR or xcode-select in the blueprint to choose one. See Selecting an Xcode version.
  • Store credentials as secrets: App Store Connect API keys, signing certificates, and private package registry tokens belong in Secrets. Devin reads them as environment variables.
  • Allow package registries: if your organization uses a restricted network policy, make sure the macOS allowlist includes Swift Package Manager, CocoaPods, or any private registries your app uses. See Network access.
  • Restart the Simulator after a wake: when a session sleeps and wakes, files survive but running processes don’t. Ask Devin to boot the Simulator again before testing.
  • Ask for evidence: ask for screenshots or a recording of specific screens so you can check the UI without running the app yourself.

Limitations

  • Devin runs apps on simulators, not physical iPhones or iPads. To test on a device, install a TestFlight build.
  • Timing and profiling results inside a VM don’t reflect real device performance.
  • Containers run under software emulation on macOS VMs, so container-heavy work is slow.
See macOS support limitations for details.

Next steps

TestFlight uploads

App Store Connect setup, API keys, and secrets for uploading builds

macOS support

Blueprint options, preinstalled tools, and troubleshooting for macOS sessions

Testing and recordings

How Devin tests your app and records the results