Setting up the integration
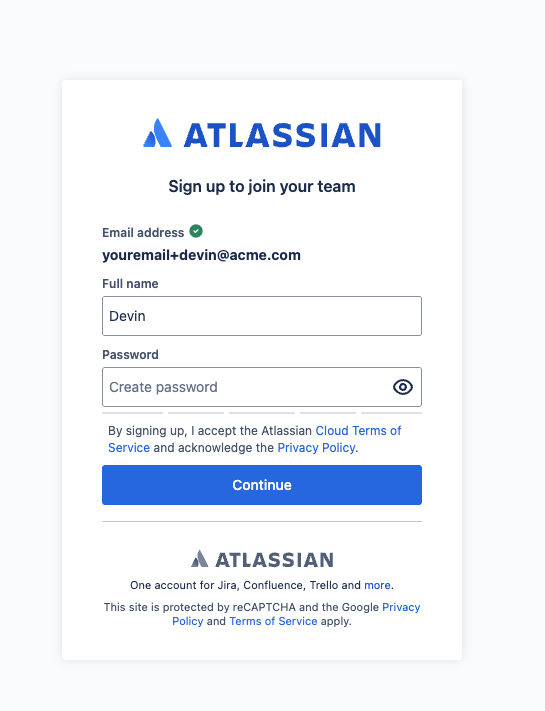
First, create a new Jira account just for Devin to use
You have 2 options:- Use an email alias: Invite yourself using a modified email like youremail+devin@company_domain.com.
- Create a dedicated account: Ask your IT administrator to set up a new email like devin@company_domain.com.

Make sure to use the name “Devin”, not your personal name. This name will show up in all the comments the integration makes.
Make sure to only add this new Jira account to 1 Jira workspace.

Connect Devin to your new Jira account
- For Non-Enterprise Accounts: In your Devin account at app.devin.ai, go to Settings > Integrations
- For Enterprise Accounts: In your Devin account at app.devin.ai, go to Enterprise Settings > Connected Accounts
For Enterprise Accounts, configure your Devin org to Jira project mapping
Because Enterprise accounts may have 2+ Devin organizations, this mapping is necessary for the integration to workFinally, add the Devin label to an issue!
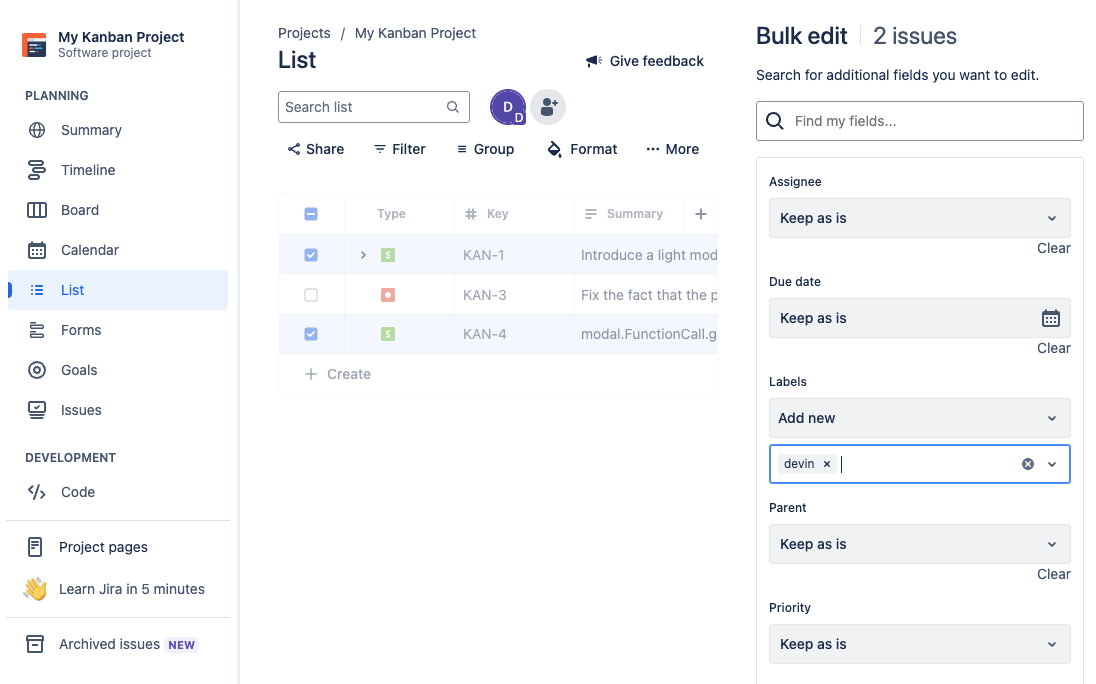
Add the ‘Devin’ label to any issue - you may need to create this label yourself the first time. Refresh to see Devin’s first response, which should populate within 1 minute. Come back in ~5 minutes for Devin’s full analysis! To start a session from an issue, click on the link Devin provides in the comments. Devin won’t start any sessions until you kicked off the session yourself.
Why integrate Devin with Jira?
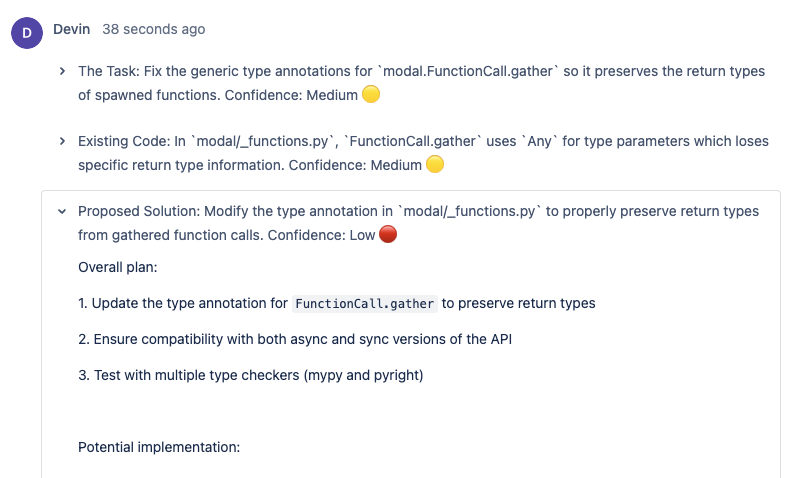
Since Devin has access to your codebase, Devin can comment on tickets with:- A summary of the relevant code
- An implementation plan
- Edge cases or questions about the ticket

