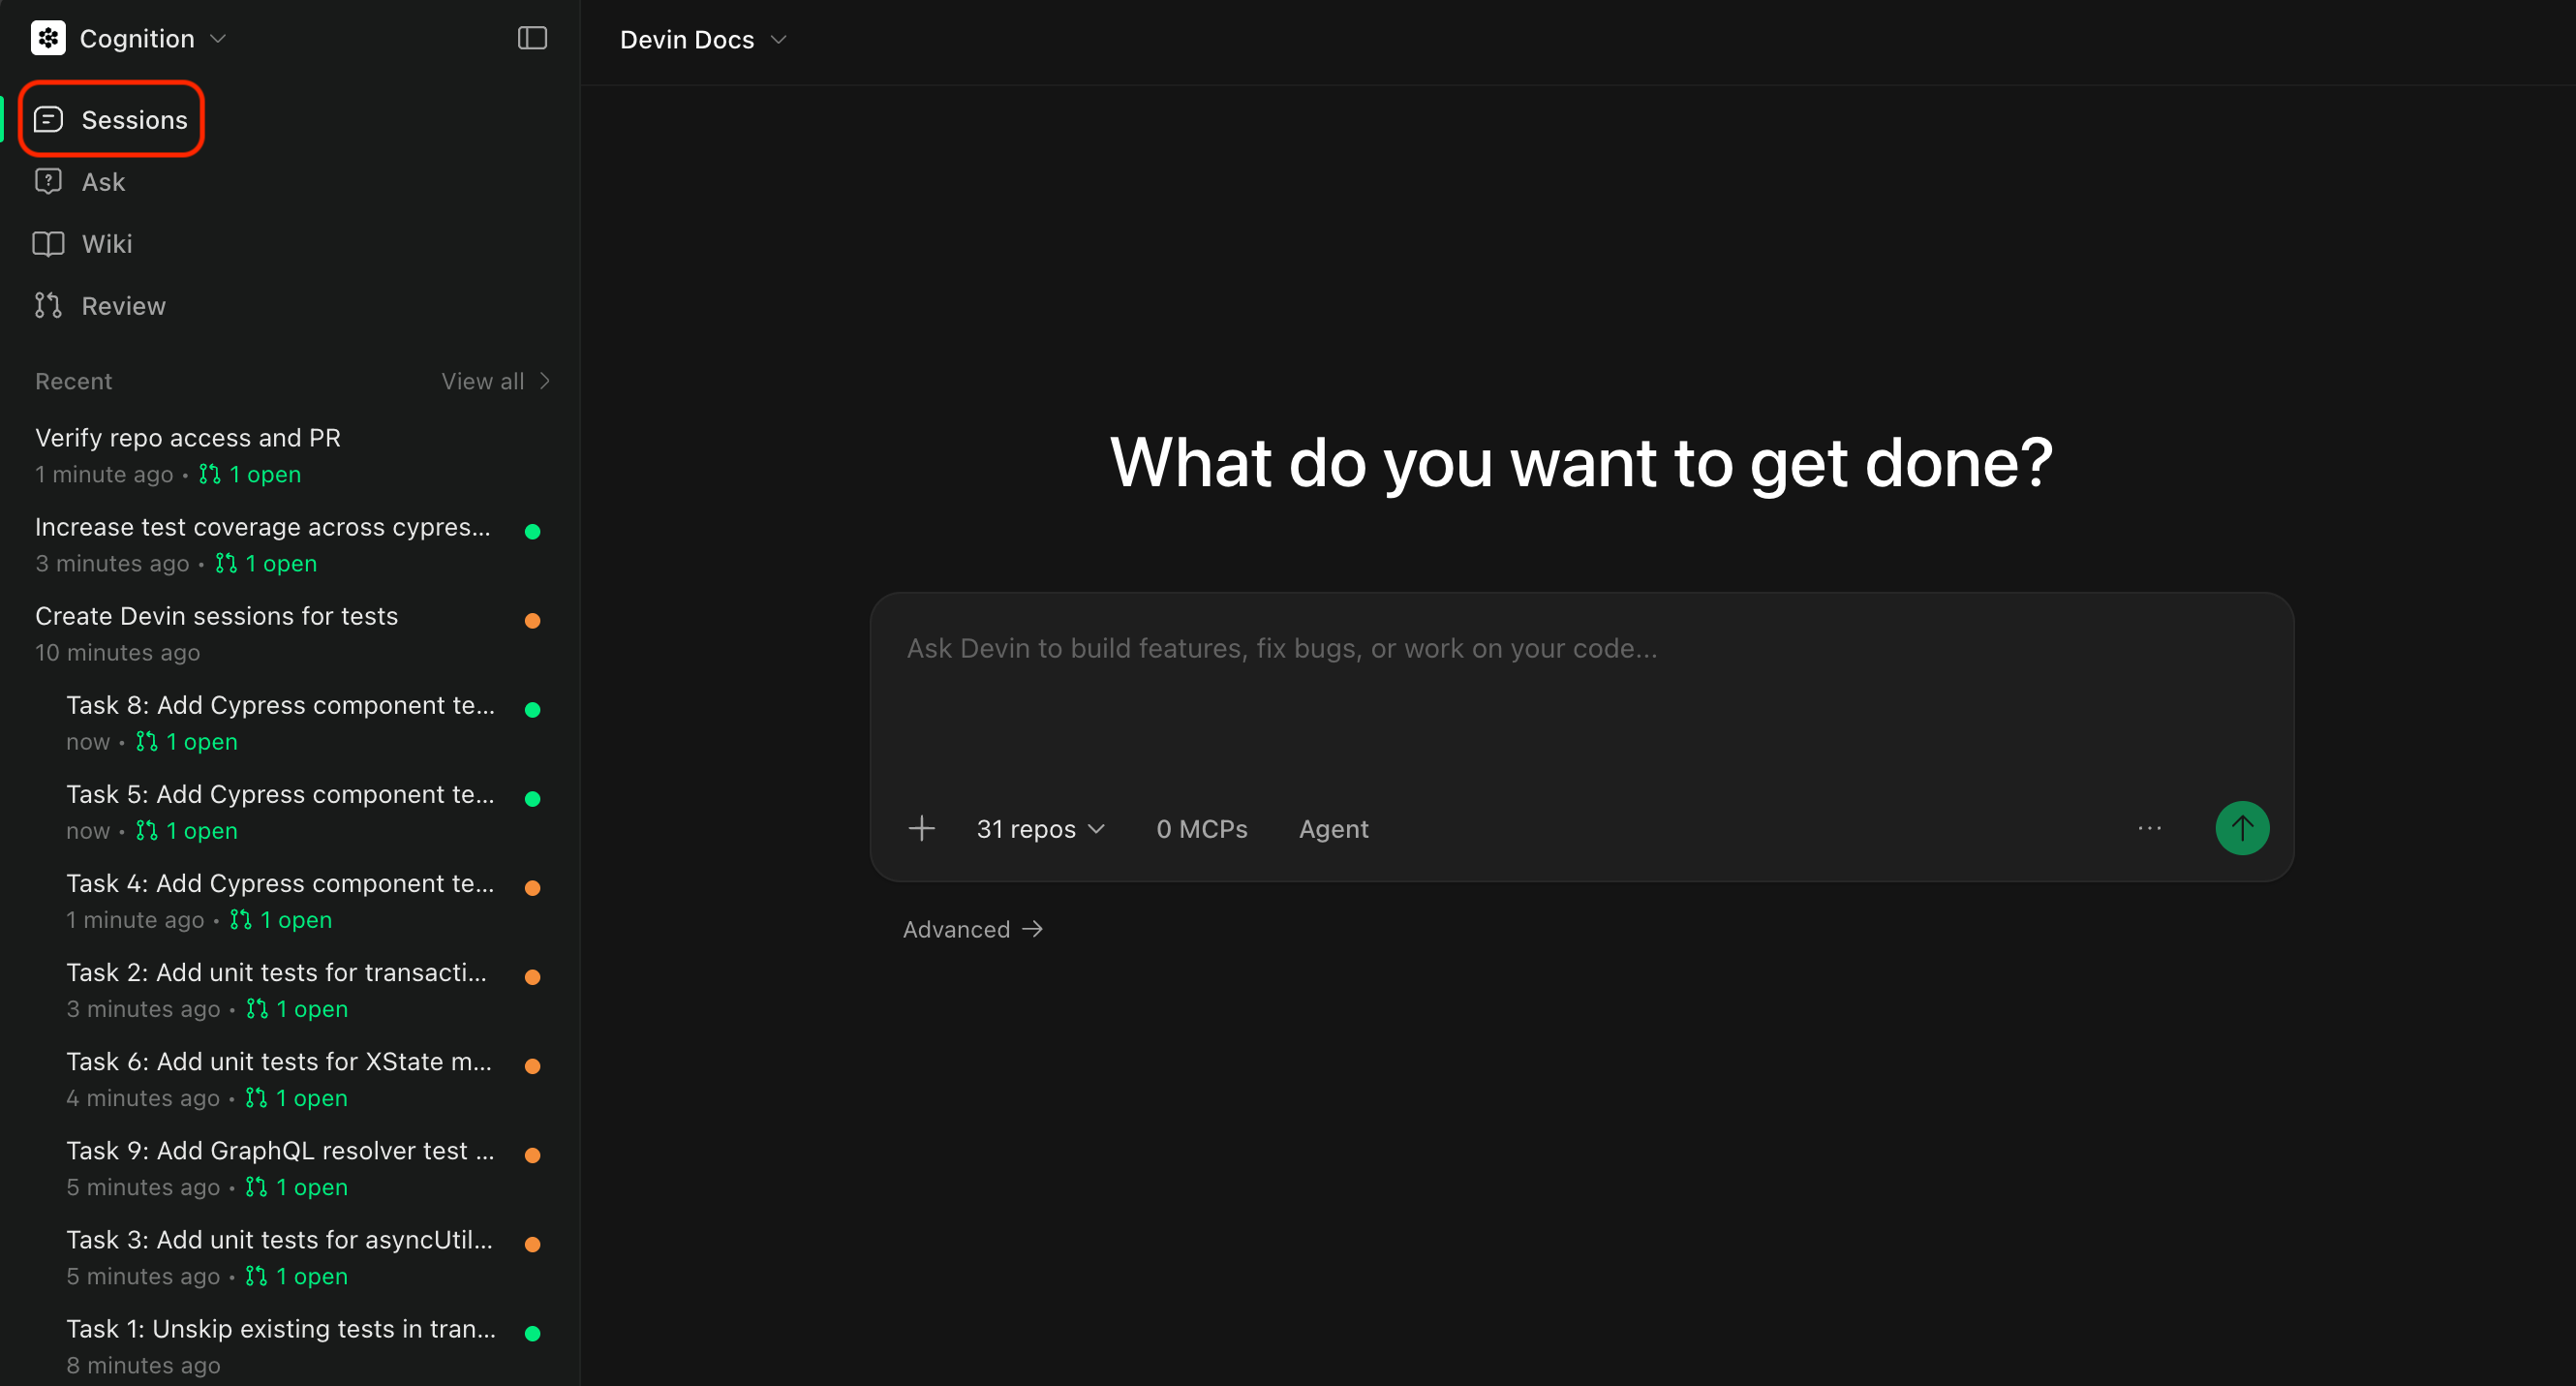
了解 Devin 会话页面
除非你已经有一个完整且明确的计划,否则我们建议先使用 Ask 模式,与 Devin 一起制定计划,然后再切换到 Agent 模式来执行该计划。
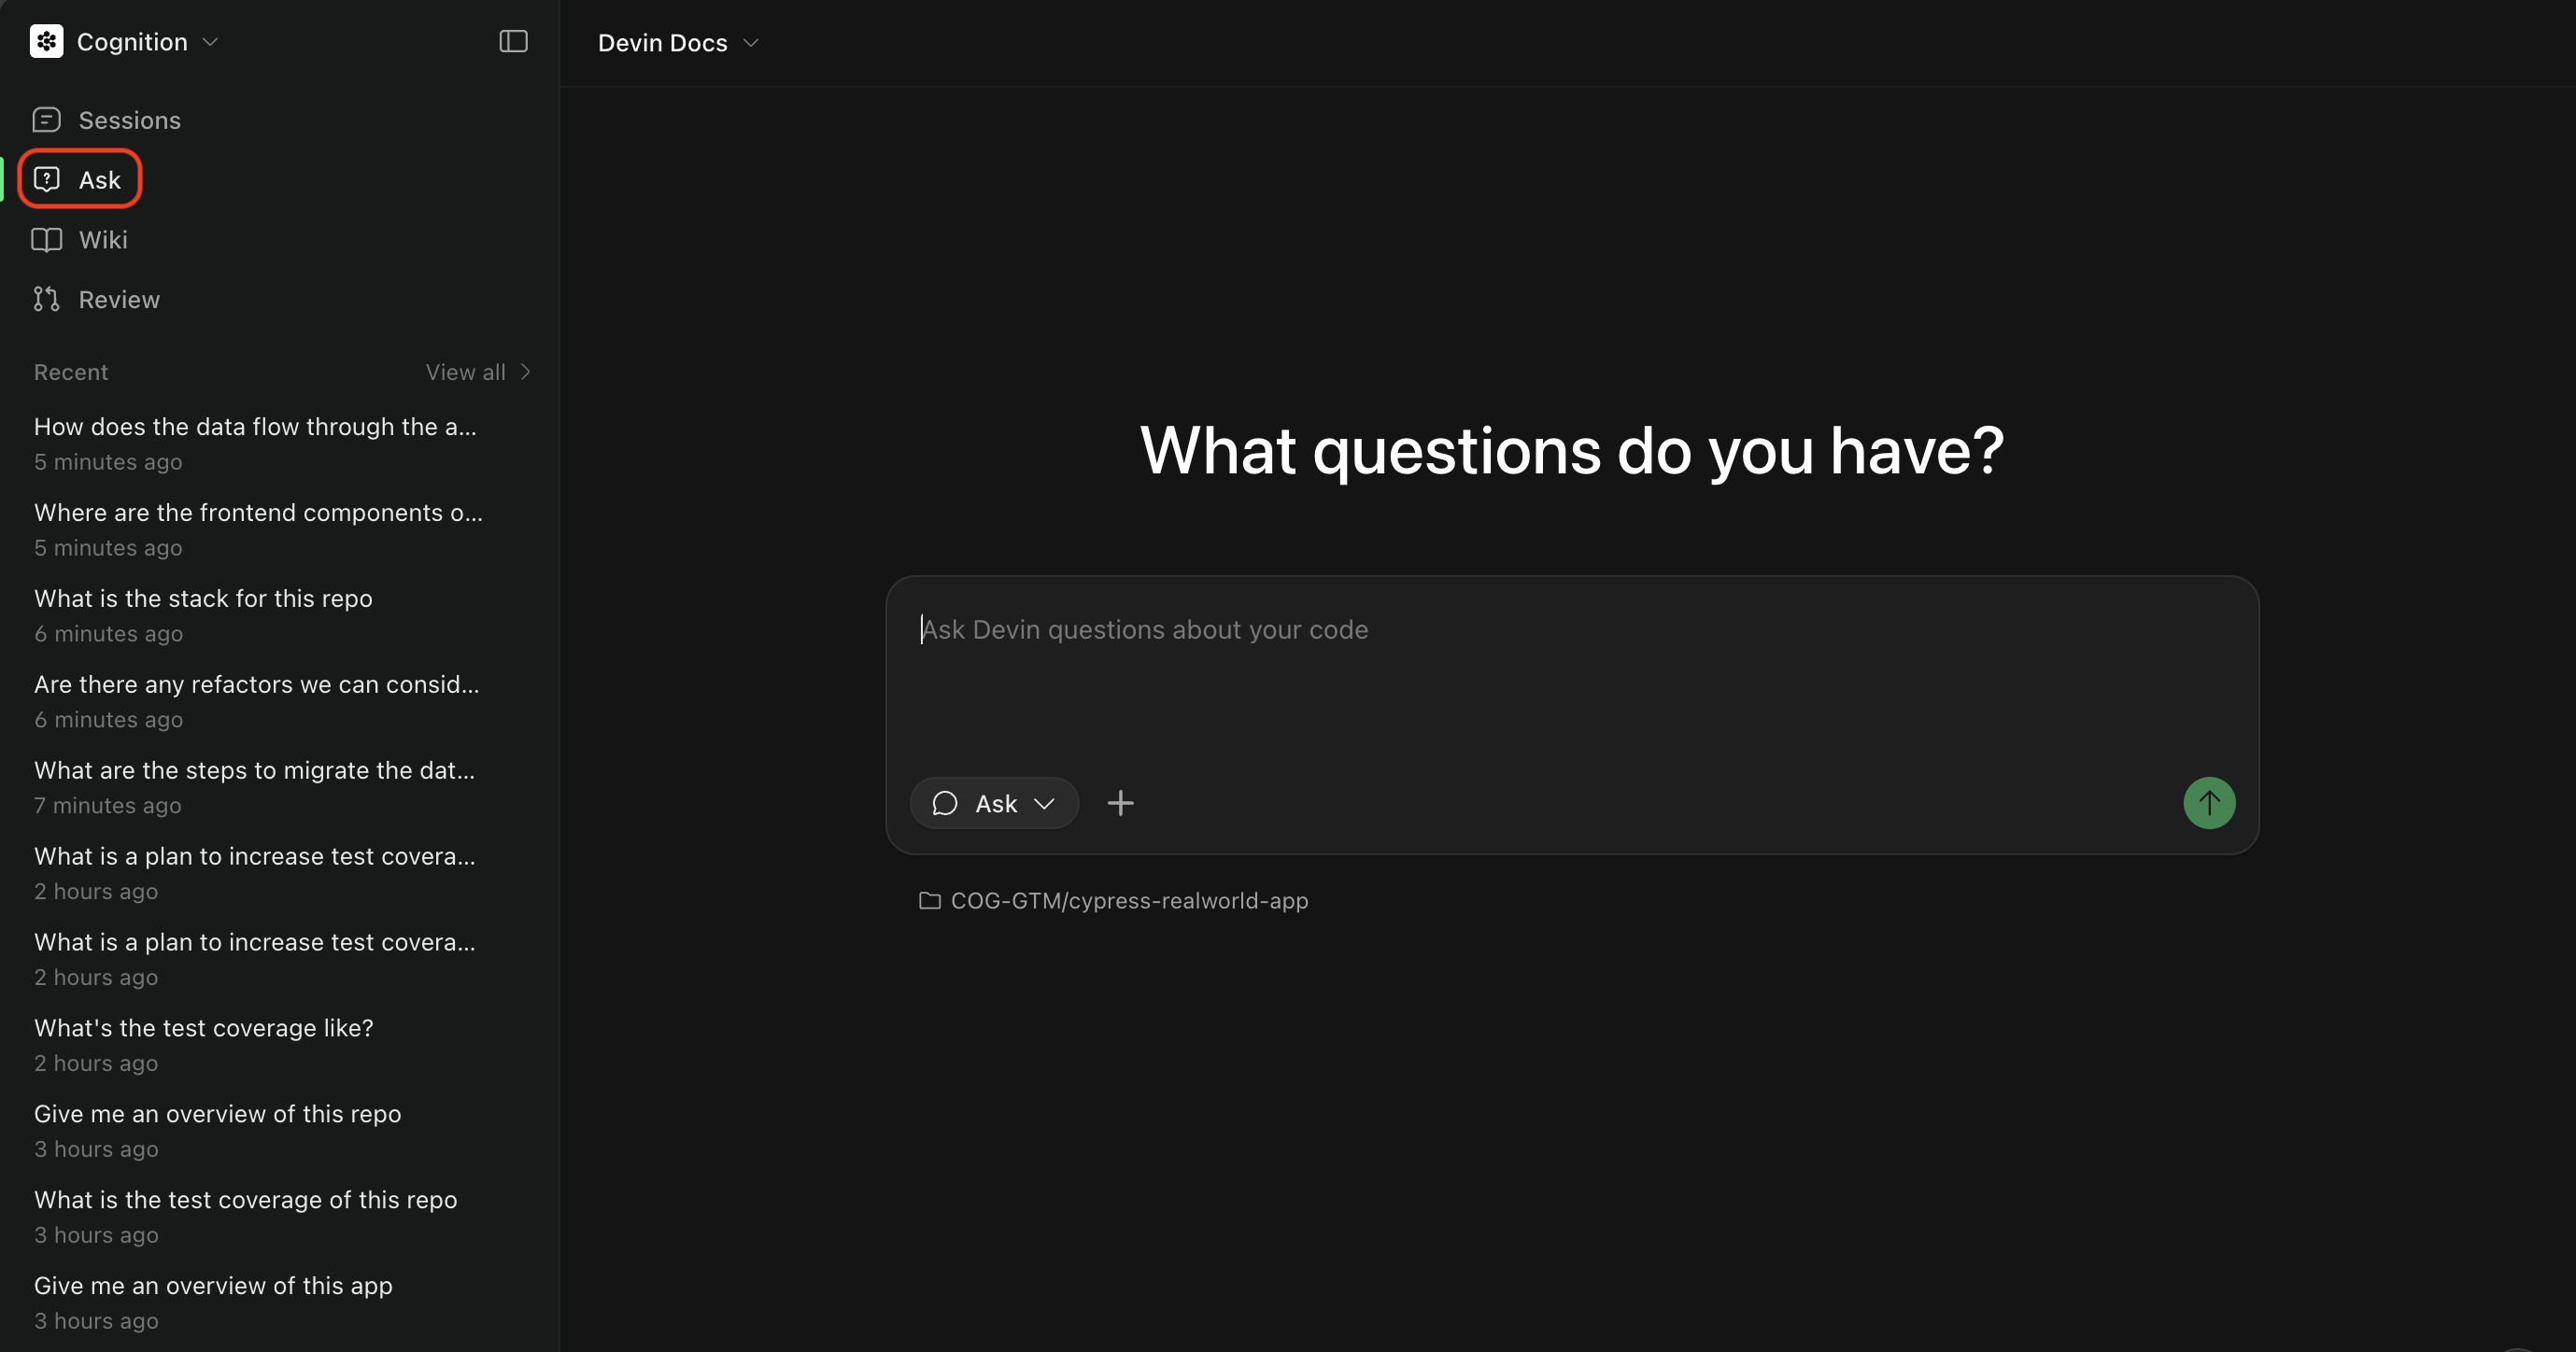
Ask 模式
- 提出问题,了解你的代码是如何工作的。利用高级代码搜索生成详细、准确且引用充分的回答。
- 规划任务,在实现之前对工作进行范围界定和规划。Devin 会为 Agent 会话生成富上下文的提示。
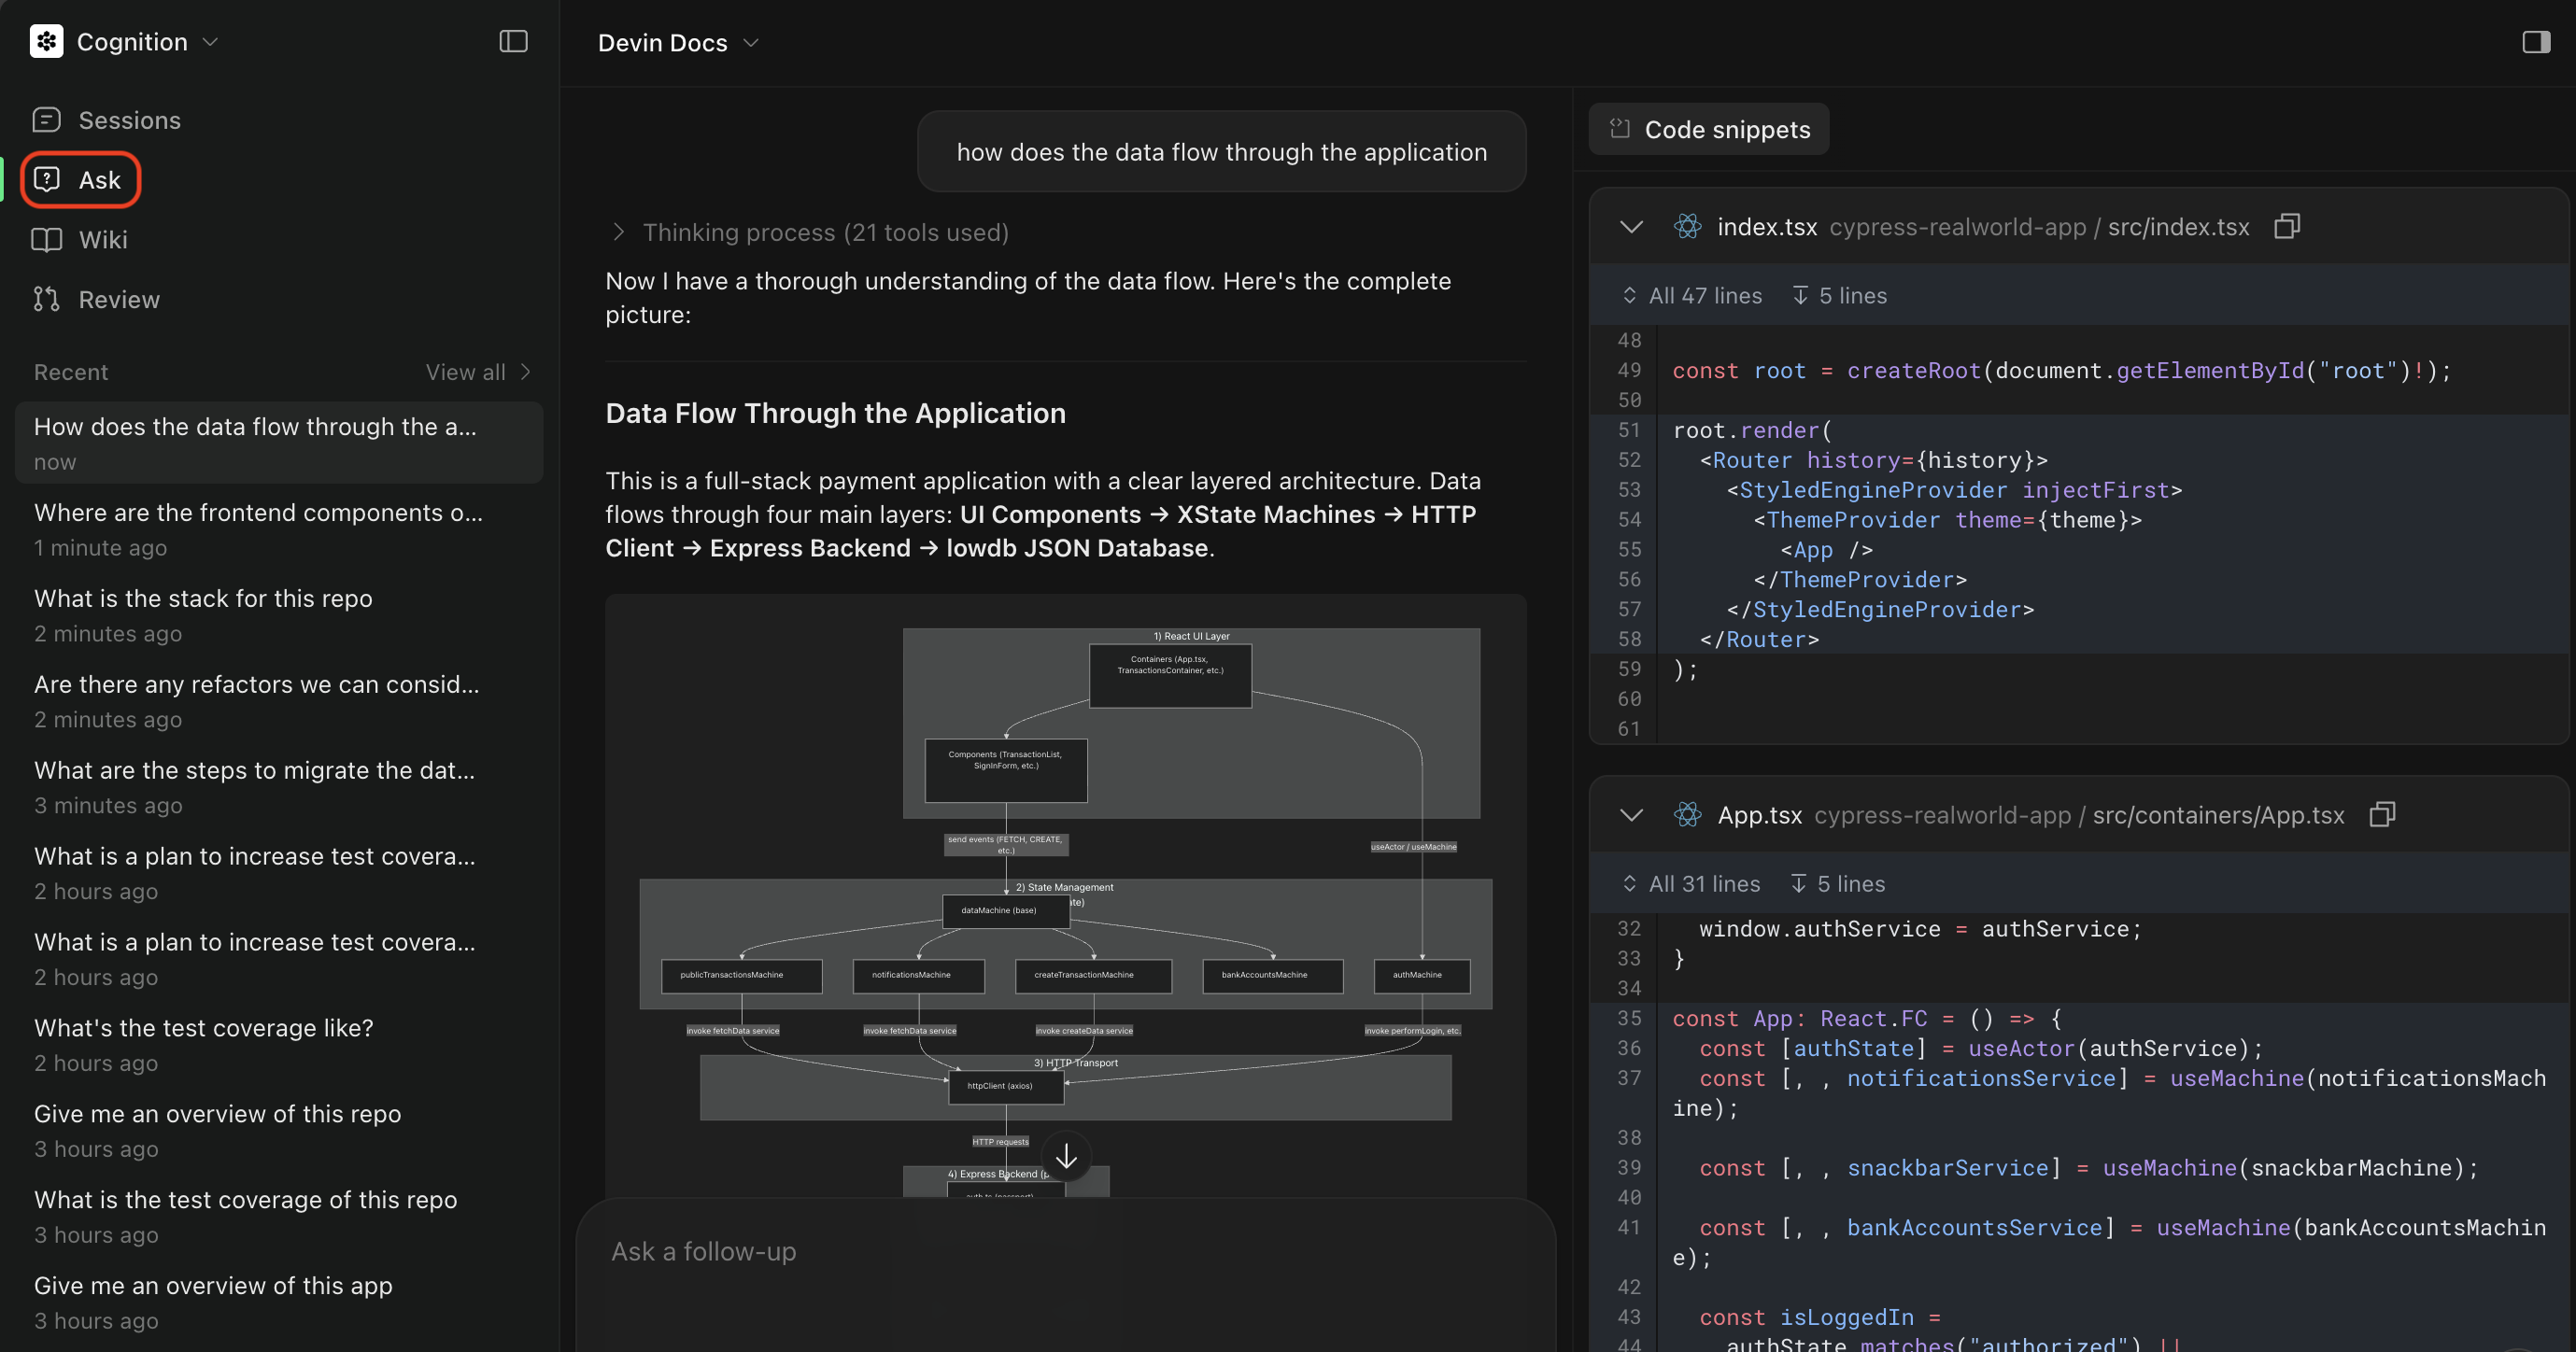
触发 Ask 模式
Agent 模式
- 实现功能或修复 bug
- 创建 pull request
- 运行测试并调试问题
- 执行需要修改代码的多步骤任务
触发 Agent 模式
- 先使用 Ask 模式 来规划任务
- 构建 Devin Prompt,它会基于你的 Ask 会话生成一个范围清晰的计划
- 点击 Send to Devin 切换到 Agent 模式并执行任务
选择代码仓库
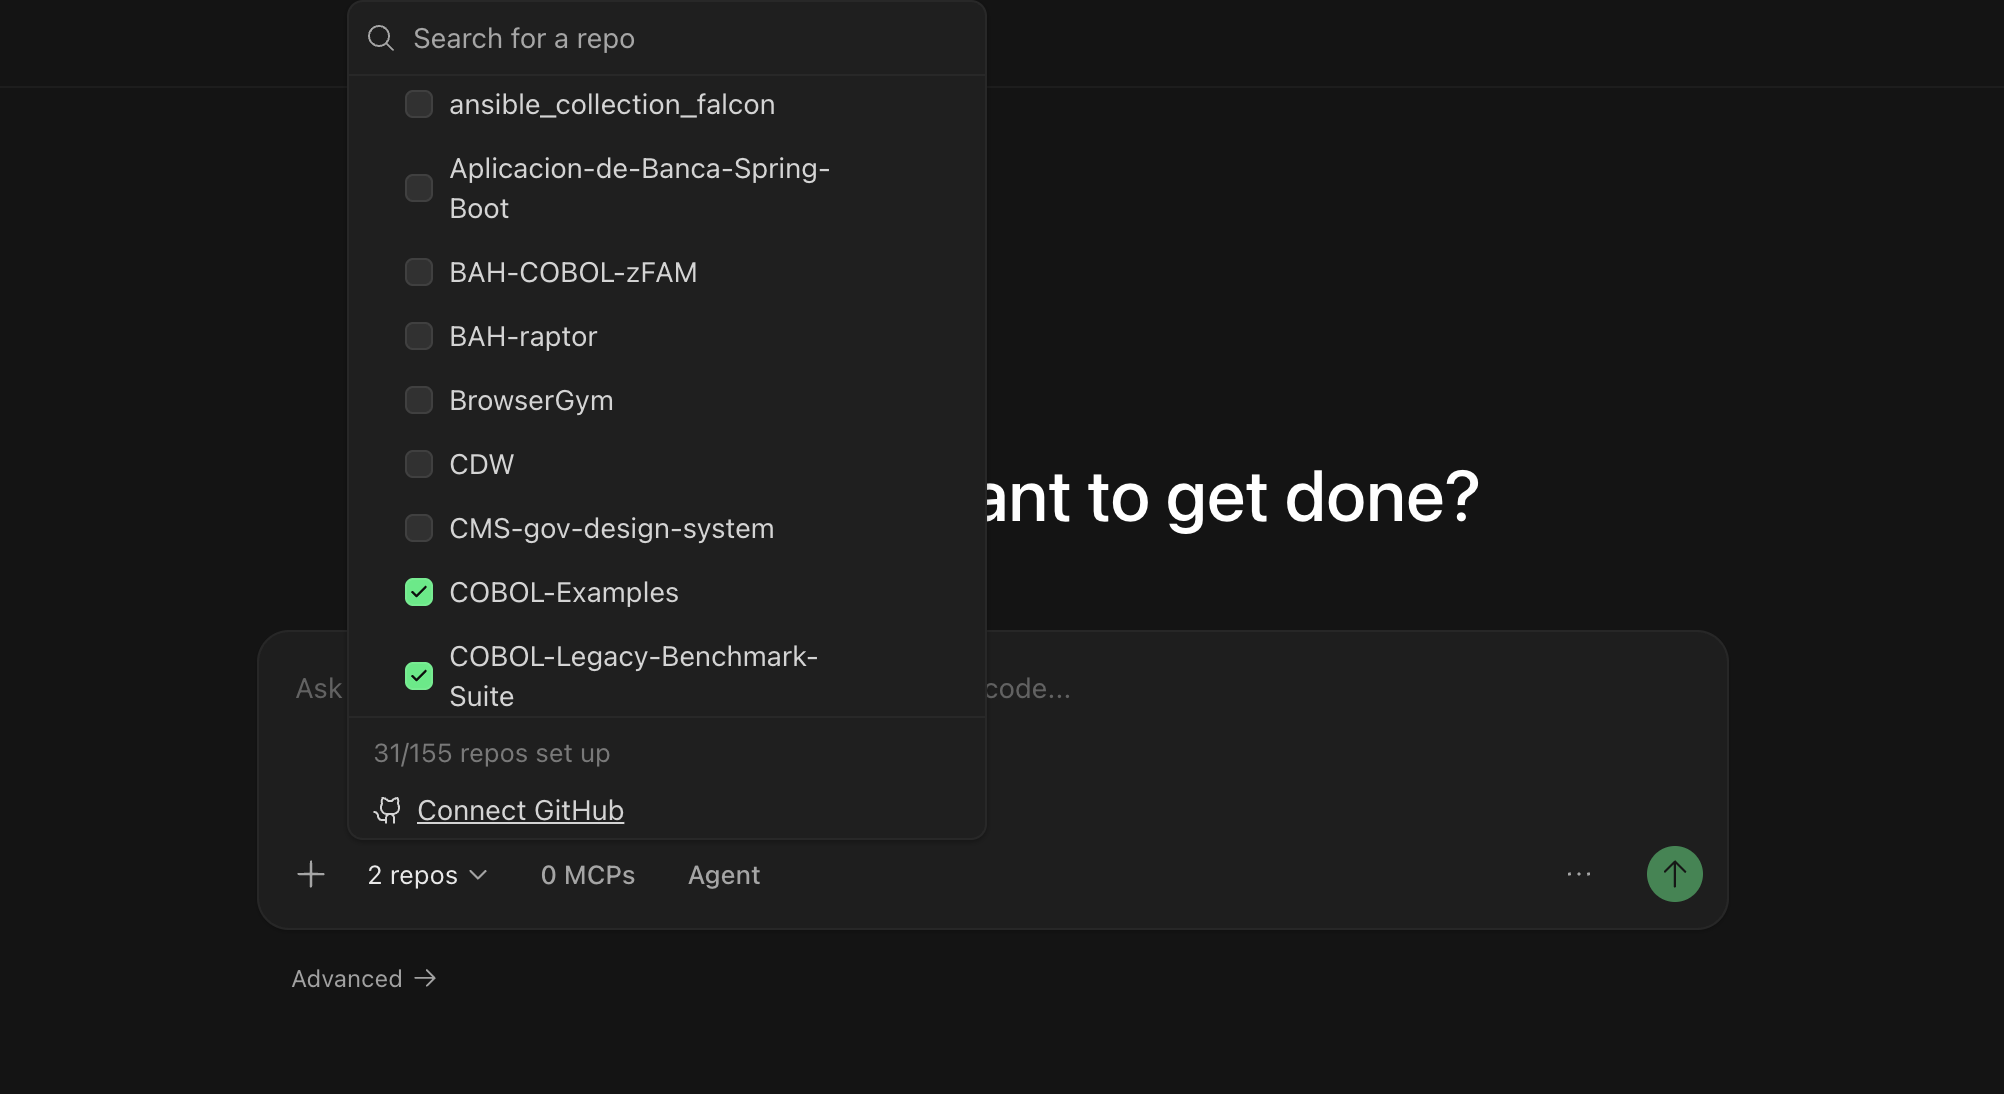
- 能访问你的代码库并进行修改
- 使用正确的分支作为起点
- 能向正确的代码仓库创建 pull request
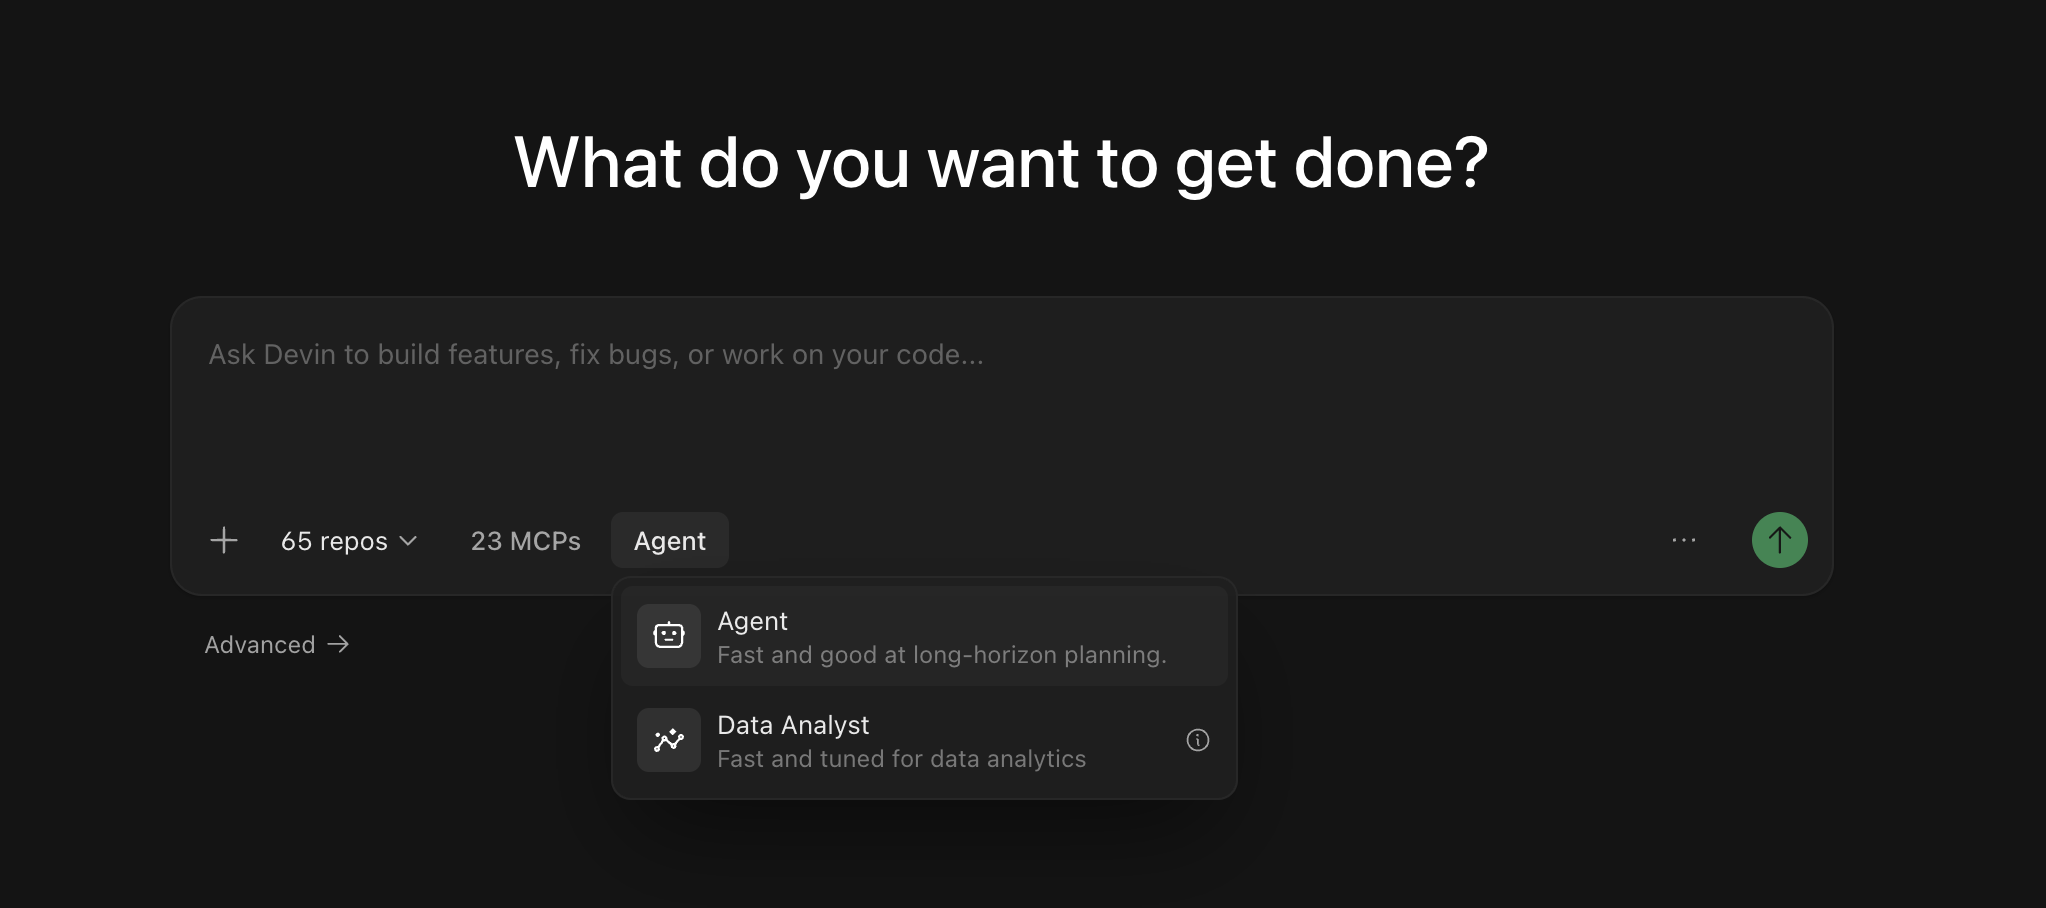
选择 Agent
- Devin (默认) — 一位通用型 AI 软件工程师,适用于构建功能、修复 bug、重构代码以及大多数开发任务。
- Fast Mode — 一种针对快速、范围明确的任务进行优化的模式。
- Dana — 一个针对数据库 query、数据分析和创建可视化内容进行优化的数据分析 Agent。
你无需开始新会话即可切换模式。你可以在会话页面中使用消息输入框旁边的 Agent toggle,在当前会话中切换 Agent——更改会从你的下一条消息开始生效。在 Slack 中,你可以通过在消息开头输入
!ultra、!fast、!lite、!fusion、!swe 或 !normal 来在当前会话中切换模式 (请参阅 Slack mode keywords) 。使用 @ 提及
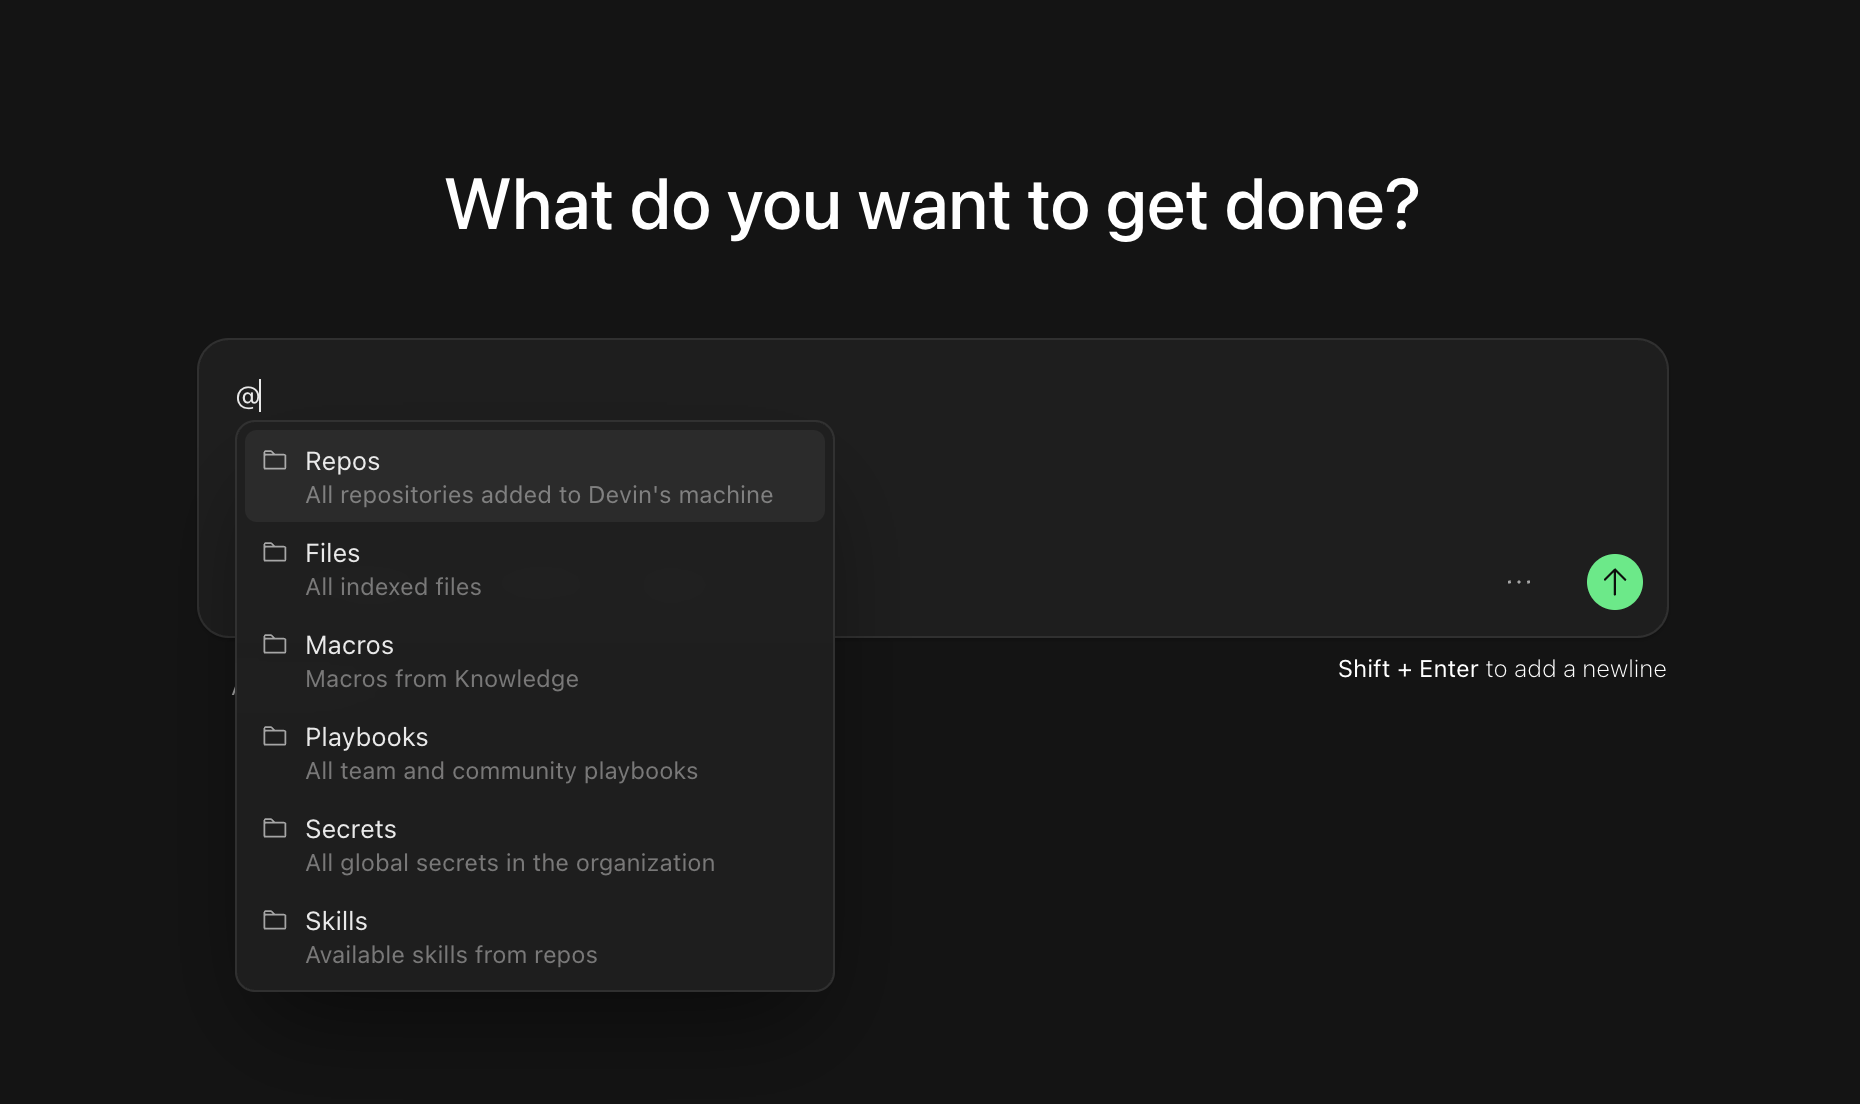
@ 提及为 Devin 提供有关文件、代码仓库或其他资源的特定上下文。当你在聊天输入框中键入 @ 时,你会看到一个可用提及项的下拉列表:
- @Repos - 引用特定代码仓库
- @Files - 引用代码库中的特定文件
- @Macros - 引用某个 Knowledge 条目对应的宏
- @Playbooks - 引用团队或社区的 playbook (操作手册) ,这些是详细的提示模板,可用于引导 Devin 的行为
- @Skills - 引用你在代码仓库中定义的 skill (以
SKILL.md文件提交的可复用步骤) - @Secrets - 从 Devin 的会话管理器中引用某个特定机密 (例如 API key、凭证等)
- @Sessions - 引用之前的 Devin 会话作为上下文
为你的首次会话设定范围
首次使用的提示词示例
新增 API 端点
新增 API 端点
小型前端功能
小型前端功能
编写单元测试
编写单元测试
迁移或重构现有代码
迁移或重构现有代码
更新 API 或数据库查询
更新 API 或数据库查询
快速创建一个 PR(我们建议在 Playbook 中使用此提示)
快速创建一个 PR(我们建议在 Playbook 中使用此提示)
浏览使用场景
探索工程工作流中的实用示例——每个示例都包含可以立即尝试的提示词。
会话结束后
后续步骤
Integrations
将 Devin 连接到你现有的工具,如 GitHub、Slack、Jira 等。
Playbooks
了解如何使用 Playbooks 来实现任务。
Knowledge
添加知识,帮助 Devin 理解你团队的工作方式和实践。