

This integration uses JetBrains’ built-in ACP support in AI Assistant. For the
upstream reference, see the JetBrains docs on
adding a custom agent.
Coming from the Windsurf JetBrains plugin? The
Windsurf JetBrains plugin is in
maintenance mode, Cascade is being deprecated, and newer JetBrains
IDE releases can break the legacy plugin. Devin over ACP is the recommended way to use
Devin in JetBrains IDEs going forward; follow the setup steps below.
Prerequisites
- A JetBrains IDE with the AI Assistant plugin and AI Chat available.
Setup
Install Devin directly from the ACP Registry — no CLI installation or manual configuration required.1
Open AI Chat
Click the AI Chat icon in the right-hand tool window bar.
2
Open the agent selector
Click the agent selector in the AI Chat footer to see the list of available
agents.
3
Install Devin from the ACP Registry
Choose Install From ACP Registry…, search for Devin, and click
Install. Devin is added to the list of available agents.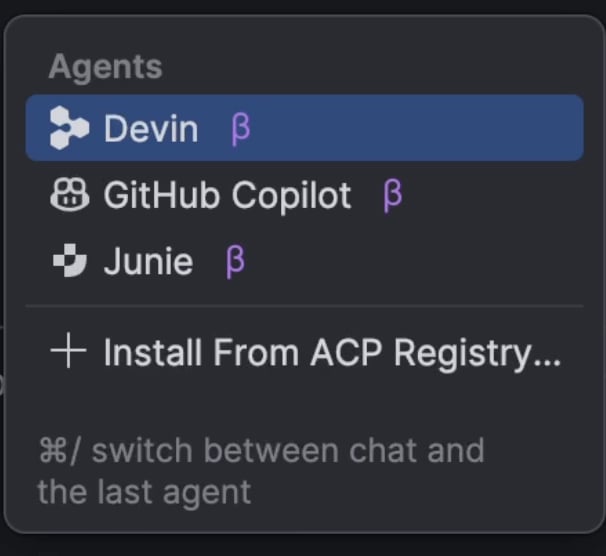
4
Log in to Devin (optional)
The first time you connect, you may be prompted to authenticate. Follow the
prompt to log in to your Devin account.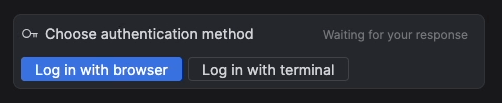
5
Start chatting with Devin
Select Devin in the agent selector and send a message to start a session.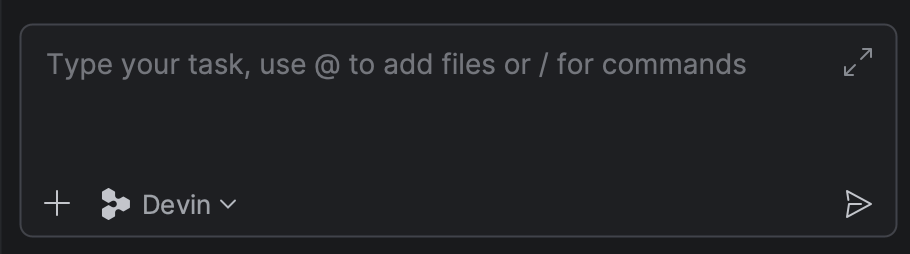
Manual setup (custom ACP)
If you’d rather run Devin from your own installation of the Devin CLI, you can add it as a custom ACP agent instead of installing from the registry.Prerequisites
-
Devin CLI installed and authenticated. If you haven’t installed it yet, follow
the Quickstart, then run
devin auth login. -
The absolute path to the
devinbinary. You can find it with:This typically resolves to something like~/.local/bin/devin.
1
Open AI Chat
Click the AI Chat icon in the right-hand tool window bar.
2
Add a custom agent
Click the three-dots menu in the top-right of the AI Chat panel, then choose
Add Custom Agent. This opens the 
acp.json configuration file.3
Configure the Devin agent
Add Devin to the Save the file. Devin now appears as a selectable agent in AI Chat.
agent_servers block in acp.json. Set command to the
absolute path of your devin binary (from which devin) and pass acp as
the only argument:acp.json
4
Start chatting with Devin
Select devin as the agent in AI Chat and send a message to start a
session. The first time you connect, you may be prompted to authenticate;
Devin uses the credentials from
devin auth login (or WINDSURF_API_KEY if
set).Managing the integration
The three-dots menu in the AI Chat panel includes a few helpful actions for the Devin agent:- Reset ACP Authentication — clear stored ACP credentials and re-authenticate.
- Get ACP Logs — open the ACP logs, useful for debugging connection issues or inspecting what the agent is doing under the hood.
Notes and limitations
- Devin’s slash commands are advertised over ACP, so they appear in JetBrains AI Chat’s own command palette — see Slash commands in ACP hosts.
- Devin CLI’s terminal/shell output is surfaced through JetBrains AI Chat’s ACP rendering, which differs from the native Devin CLI terminal UI. Some richer interactions are only available in the standalone CLI.
- The
devin acpsubcommand is intended to be launched by an ACP-aware client (like JetBrains AI Chat) as a subprocess — it speaks JSON-RPC over stdio and is not meant to be run interactively. Seedevin acpin the command reference.