Devin Machine Setup
To integrate with your artifact repositories, you’ll need to configure your Devin machine with the appropriate credentials and tools. There are two main ways to accomplish this:- Use the integrated Terminal within Devin to install and configure artifact repository tools directly on the machine.
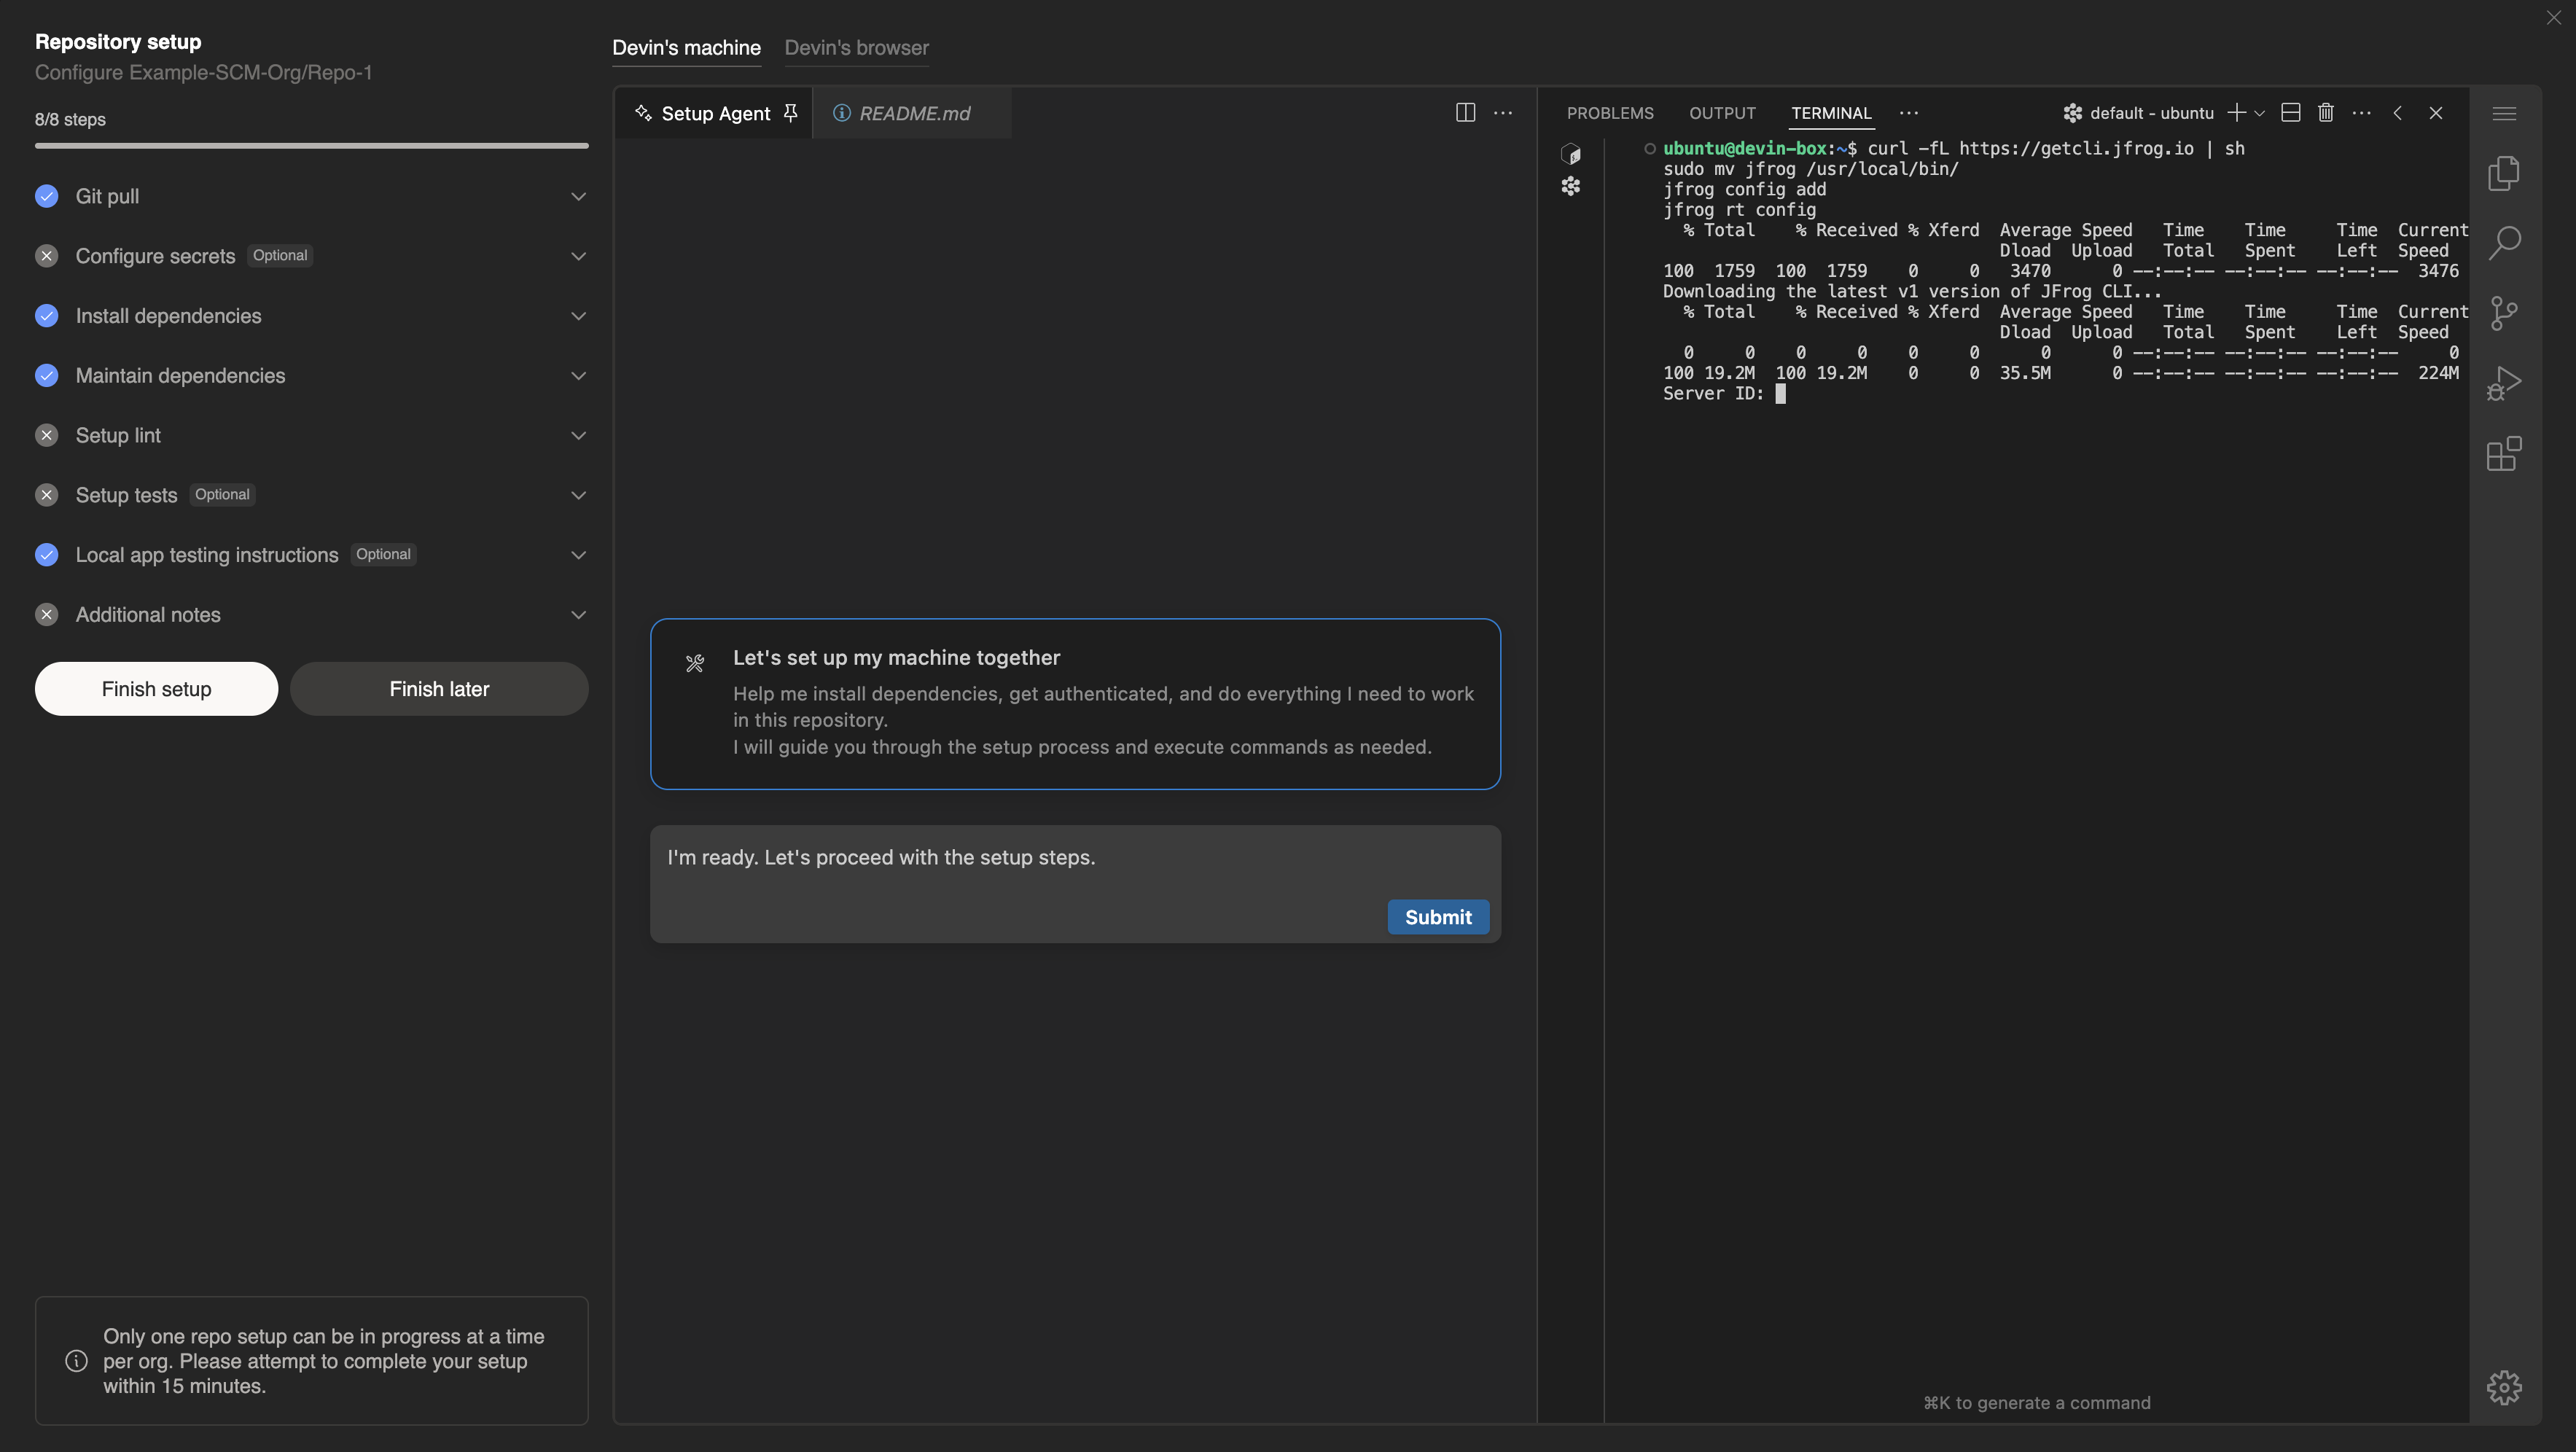
- Use the Setup Agent tab (located in the center column of Devin’s Machine during repo setup) and prompt Devin to assist with the setup.
Jfrog Artifactory
Step 1: Downloading CLI
Step 2: Download Artifact
AWS Code Artifact
Step 1: Downloading CLI
Step 2: Downloading Artifact
Azure Artifacts
Step 1: Downloading CLI
Step 2: Generating a PAT
Next, you’ll need to generate a personal access token (PAT).- Log in to your Azure DevOps portal.
- In the top-right corner, click on your profile and select Security.
- In the Personal Access Tokens section, click on New Token.
- Set the scopes for the token. You’ll need at least the “Packaging (read)” scope to access Azure Artifacts.
- Save your PAT securely, as you will not be able to view it again.
Step 3: Configure .npmrc file
To get started with Devin Enterprise, contact our enterprise sales team.